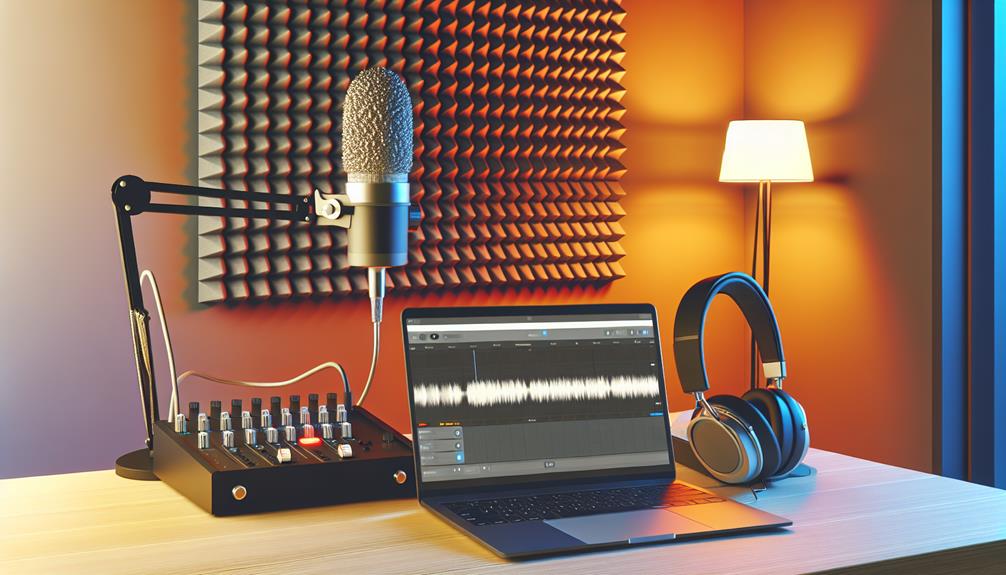
Starting a podcast with GarageBand is straightforward once you know the basics. First, you’ll need to set up a new project and select your microphone as the input source. If you’re using an external mic, connect it and create separate tracks for each host or guest.
Adjust input levels carefully to guarantee balanced audio. During the recording, you can add markers to make editing easier later.
But how do you transform these raw recordings into a polished podcast? Let’s explore the steps that follow, from editing to exporting, to ensure your podcast sounds professional and reaches a wide audience.
GarageBand Overview
GarageBand is a free and user-friendly digital audio workstation (DAW) available exclusively on Apple devices. If you’re looking to innovate in the podcasting world, GarageBand offers an intuitive interface packed with powerful editing tools that make your creative process smooth and enjoyable.
When you open GarageBand, you’ll immediately notice its sleek design, aimed at making audio editing accessible even if you’re new to sound production. You can record and edit audio effortlessly with its drag-and-drop options. The platform is loaded with Apple loops and pre-recorded sound effects, perfect for adding that professional touch to your podcast.
What sets GarageBand apart is its balance between simplicity and functionality. While other DAWs can feel overwhelming, GarageBand keeps it straightforward, letting you focus on your content. The software is so versatile that it’s used by top musicians like Rihanna and numerous successful podcast hosts.
Mobile recording options mean you can take your podcast on the go, capturing high-quality audio wherever you are. Whether you’re a beginner or a seasoned podcaster, GarageBand equips you with everything needed to produce a polished, professional-sounding podcast.
Setting Up Your Podcast
Setting up your podcast in GarageBand is both straightforward and rewarding, empowering you to bring your unique voice to life with just a few simple steps.
First, open GarageBand and select “Empty Project” to create a new project. Choose the microphone as your input source by clicking on the corresponding icon. This step guarantees your voice is captured clearly.
Next, configure your output device, such as headphones or speakers, to monitor the audio. To do this, go to GarageBand’s preferences and set your desired output.
If you’re using an external microphone, connect it to your computer and choose it as your input device.
Now, you’ll want to create multiple tracks if you plan to record more than one speaker or add background music. Click on the “+” button to add new tracks, and label them for easy identification. For instance, name one track “Host” and another “Guest.”
Before you start recording, turn off the metronome and count-in features to avoid unwanted clicks in your audio.
Recording Your Episode
Once you’ve set up your podcast project, it’s time to start recording your episode. First, make sure your microphone is connected and positioned correctly. Open GarageBand, and select the track you’ve designated for recording. Click the red record button to start capturing your voice. Speak clearly and at a consistent volume to maintain audio quality.

If you’re recording multiple hosts or guests, create separate tracks for each person. This guarantees cleaner audio and makes editing easier later. Adjust the input levels for each track so that all voices are balanced.
As you record, keep an eye on the audio meters. They should peak in the yellow zone but avoid hitting the red, which indicates clipping. If you notice any issues, stop and adjust your settings before continuing.
GarageBand also allows you to add markers during recording. Use these to note important moments or segments you’ll want to edit or highlight later. This feature can save you a lot of time during the editing process.
Editing and Enhancing Audio
Immerse yourself in the editing process by trimming any unnecessary sections from your recording to guarantee a smooth and engaging podcast episode. Start by highlighting the parts you want to remove, and then use the Split Regions at Playhead tool to cut them out. This helps you maintain a concise and focused narrative.
Next, enhance your audio quality by adjusting the volume levels. Use the Automation tool to create seamless shifts and balance the sound across different segments. This ensures that your podcast sounds professional and polished.
Don’t forget to use GarageBand’s built-in audio processing plugins, like EQ and compression, to further enhance your recording. EQ lets you fine-tune the frequency levels, making voices sound clearer and more distinct. Compression helps to even out the volume, making sure that no part of your podcast is too loud or too soft.
Add some flair to your episode with Apple Loops and sound effects. These can make your podcast more engaging and dynamic. Just drag and drop them into your timeline and adjust as needed.
Exporting and Sharing
After perfecting your podcast episode, it’s time to export it and share it with your audience. Start by ensuring your episode is free of errors and ready for listeners.
Follow these steps for a smooth export process:
- Export Your File: Click on “Share” in the top menu and select “Export Song to Disk.” Choose WAV format for high quality, then name your file and choose a destination folder. Click “Export” to save your podcast.
- Add Metadata: Before sharing, add metadata like the title, artist, and genre. This helps in organizing and makes your podcast easily searchable. In the export window, fill in these details before finalizing the export.
- Share Your Podcast: Distribute your podcast on platforms like iTunes, Spotify, or SoundCloud. Each platform has its own upload process, but generally, you’ll need to create an account, upload your file, and fill in the necessary details about your podcast episode.
Must-know guides:
How to EQ Vocals in GarageBand: Master Studio Quality!
How to Make a Ringtone in GarageBand: Master It Today
How to Use GarageBand on iPhone: Create Music Anywhere
How to Record Guitar in GarageBand?
Frequently Asked Questions
Can Garageband Be Used for Video Editing?
No, GarageBand isn’t designed for video editing. You’ll need software like iMovie or Final Cut Pro for that. However, you can create your podcast’s audio in GarageBand and then sync it with your video.
How Do I Add Third-Party Plugins to Garageband?
To add third-party plugins to GarageBand, download the AU or VST plugin, move it to the Library/Audio/Plug-Ins/Components folder, then restart GarageBand. You’ll find your plugin in the Smart Controls under Plug-ins.
What Are Some Tips for Reducing Background Noise During Recording?
To reduce background noise during recording, you should choose a quiet environment, use a pop filter, and adjust the noise gate settings in GarageBand. Additionally, consider investing in a good quality microphone for clearer audio.
Does Garageband Support Live Streaming?
GarageBand doesn’t support live streaming directly. However, you can use third-party software like OBS Studio for live streaming while recording audio in GarageBand. This combo lets you innovate and achieve high-quality live broadcasts.
How Can I Collaborate With Others Remotely Using Garageband?
You can collaborate remotely in GarageBand by using iCloud to share projects. Just upload your project to iCloud Drive, invite collaborators via email, and work on the same project in real-time from different locations.
Conclusion
And that’s it! You’re now ready to use GarageBand for your podcast.
Just remember to set up your project properly, record with good input levels, and edit carefully to enhance your audio.
Once everything sounds great, export your file, add the necessary metadata, and share it online. With practice, you’ll get smoother and faster.
Happy podcasting!