Starting with GarageBand is straightforward, but maximizing its potential requires some guidance. First, you’ll need to download the app and get familiar with its main window layout. From there, setting up your project involves adjusting the tempo, time signature, and key to fit your creative vision.
You can draw from the extensive Sound Library for instruments and loops, or even record live instruments using an audio interface. The real magic happens when you begin experimenting with effects, plugins, and editing tools. Curious about how to fine-tune your tracks or share your masterpieces? Let’s explore further.
Getting Started – How to Use GarageBand?
How do you immerse yourself in creating music with GarageBand?
First, you’ll need to get GarageBand on your device. It’s available for Mac, iPhone, and iPad, so head to the App Store, download, and install it. Once it’s installed, open it up and take a moment to explore the main window layout. You’ll notice it’s designed to be user-friendly, letting you dive right in without feeling overwhelmed.
Next, familiarize yourself with the additional sound files and instruments available for download. These extras are essential for expanding your creative palette. To find them, navigate to the Sound Library and download what suits your style.
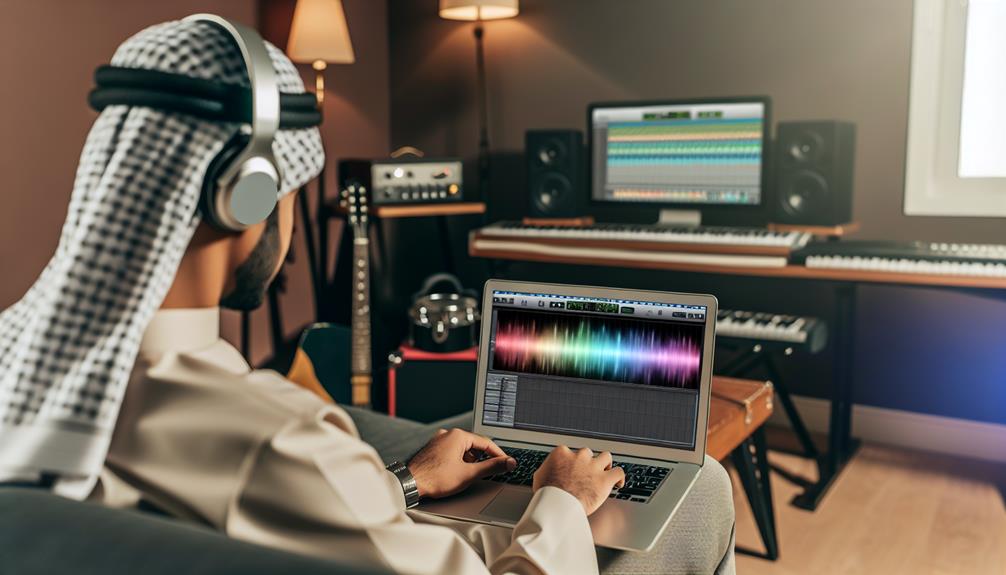
Understanding how to use GarageBand starts with knowing the basics of its interface. The main window is your workspace, featuring tracks, tools, and controls.
Spend some time experimenting with the musical typing keyboard, which turns your computer keys into a piano. This feature can spark instant creativity and give you a feel for how do you use GarageBand effectively.
Setting Up Your Project
After exploring GarageBand’s interface, it’s time to set up your project by adjusting key settings like tempo, time signature, and key to match your musical vision.
Start by opening a new project. You’ll see options to set these pivotal parameters in the “Beats & Project” window. Adjusting these settings properly is essential to create a cohesive sound.
First, set the tempo, which controls the speed of your music. A faster tempo means a quicker beat, while a slower one creates a more relaxed pace.
Next, choose the time signature, which dictates how many beats are in each measure. Common signatures are 4/4 and 3/4. Finally, select the key, determining the scale your music will follow.
Here’s a quick overview of these settings:
| Setting | Function | Example |
|---|---|---|
| Tempo | Controls the speed of the music | 120 BPM |
| Time Signature | Sets the beat structure | 4/4, 3/4 |
| Key | Determines the scale | C Major, G Minor |
| Metronome | Provides a consistent beat | On/Off |
| Count-In | Gives a lead-in before recording | 1 bar, 2 bars |
Creating With Loops and Instruments
Immersing oneself in music creation with GarageBand, you’ll find a wealth of loops and software instruments at your disposal. Begin by exploring Apple Loops, a vast library of pre-recorded sounds.

Drag and drop loops into your workspace to build the foundation of your track. Experiment with different loops, layering them to create a rich texture.
Next, plunge into the software instruments. Use the Musical Typing feature or a MIDI keyboard to record melodies and chords. Select from a variety of virtual instruments like keyboards, guitars, and drums. Customize these sounds by adjusting the instrument settings or adding effects like reverb and delay.
To add more creativity, edit your loops. Trim, split, and move them around to fit your composition. Use the editor to tweak individual notes and velocities, giving your music a human touch. Don’t hesitate to mix and match loops from different genres to create something unique.
Recording Live Instruments
Now that you’ve mastered creating with loops and software instruments, let’s explore how to record live instruments in GarageBand. First, connect your instrument to your Mac using an audio interface. Open GarageBand and create a new project. Select “Audio” as your track type, then click “Create.”
Next, verify your audio input is set correctly. Go to GarageBand’s preferences menu and select the “Audio/MIDI” tab. Choose your audio interface as the input device. Arm the track for recording by clicking the red record button on the track header.
To get the best sound, adjust the input levels. Use the gain knob on your interface, validating the levels aren’t peaking into the red. You can also add effects and plugins to your track. Click on the “Smart Controls” button to access EQ, compression, and reverb.
Here’s a quick setup guide:
| Step | Action | Tips |
|---|---|---|
| Connect Instrument | Use audio interface | Ensure reliable connection |
| Create New Project | Select “Audio” track | Name your project |
| Set Audio Input | Preferences > Audio/MIDI | Choose interface as input device |
| Arm Track for Recording | Click red record button | Check levels on track header |
Recording live instruments in GarageBand opens up endless creative possibilities, blending the organic feel of live performance with digital precision. Happy recording!
Saving and Sharing
Saving and sharing your music in GarageBand is straightforward, allowing you to easily showcase your creations. To save your project, click ‘File’ in the top menu and select ‘Save’ or ‘Save As’ if you want to create a new version. Name your project and choose a location on your device.

When you’re ready to share your masterpiece, click ‘Share’ in the top menu. You have several options: you can export your song to iTunes, SoundCloud, or even create a ringtone. For a standard audio file, choose ‘Export Song to Disk.’ Select your desired file format, such as MP3 or AAC, and click ‘Export.’
If you want to collaborate with others, you can share your GarageBand project file. Go to ‘File,’ then ‘Compress Project,’ to create a zip file. This makes it easier to send via email or cloud services like Dropbox.
For those looking to innovate, consider sharing your music on social media platforms or music streaming services. GarageBand offers integrated sharing options that streamline this process. By saving and sharing your music, you can connect with a wider audience and get feedback to refine your skills.
Some More Tutorials You Must Read:
How to Autotune in GarageBand: Achieve Studio-Quality Sound
How to Quantize in Garageband Like a Pro: Easy Steps!
How to Share Garageband Projects Effortlessly?
How to Mix Tracks on Garageband: Perfect Sound Every Time!
How to Record Two Tracks at Once in Garageband? Quick Guide
Frequently Asked Questions
How Do I Import Third-Party Plugins Into Garageband?
To import third-party plugins into GarageBand, open the app, go to Preferences, then Audio/MIDI. Click on “Enable Audio Units” and restart GarageBand. Your new plugins will now be available in the instrument and effects menus.
Can I Automate Volume and Effects Changes in Garageband?
You can automate volume and effect changes in GarageBand by using the automation feature. Simply click the ‘A’ button, select the parameter you want to automate and draw your automation curve for dynamic changes.
How Do I Sync Garageband Projects With Other Daws?
To sync GarageBand projects with other DAWs, you’ll export your tracks as individual audio files. Then, import them into the target DAW. This guarantees seamless integration and allows you to innovate across platforms.
Is It Possible to Use Garageband for Podcast Editing?
Absolutely, you can use GarageBand for podcast editing. It offers intuitive tools for recording, editing, and mixing audio. Add effects, enhance sound quality, and export your podcasts easily. It’s innovation at your fingertips.
How Can I Optimize Garageband Performance on Older Devices?
To optimize GarageBand performance on older devices, close unused apps, reduce track counts, and lower audio quality settings. Regularly update the app and your device’s OS. Clear cache and use external storage for large projects.
Conclusion
By following these steps, you’ll be well on your way to creating amazing music with GarageBand. Start by setting up your project, then immerse yourself in creating with loops and instruments.
Don’t forget to experiment with recording live instruments for a personal touch. Once you’re happy with your creation, save your work and share it with the world. GarageBand makes it easy, so have fun and let your creativity shine!