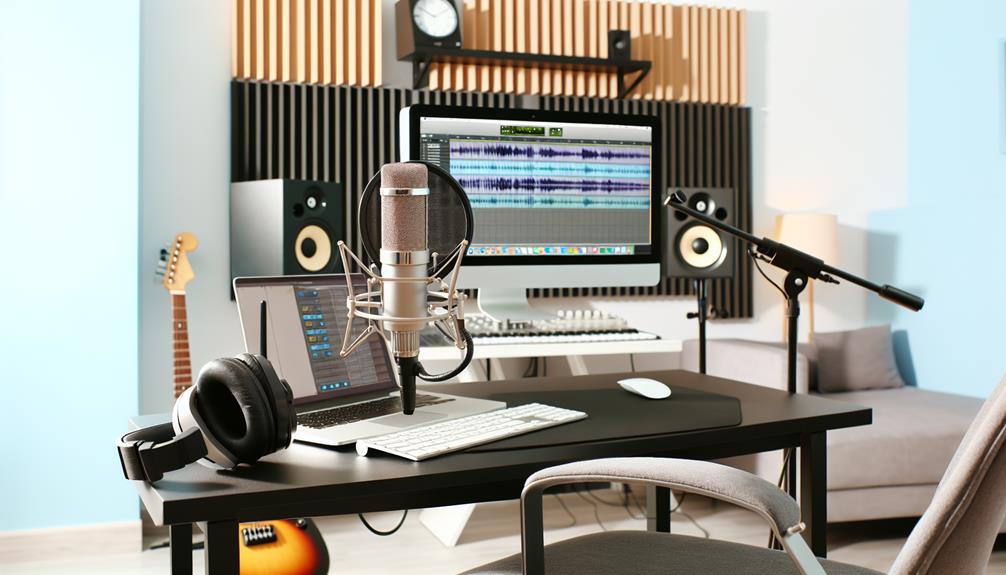
When you start record vocals in GarageBand, the first thing you need to do is gather your essential equipment, such as a dependable microphone, high-quality headphones, and a pop filter.
Once your gear is ready, connect the microphone to your Mac and set up the pop filter to guarantee clear sound capture.
Next, you’ll need to configure your vocal channels by enabling monitoring, selecting an appropriate vocal preset, and adjusting EQ settings for the best sound. Wondering how to fine-tune your backing tracks to complement your vocals? Let’s explore that next.
Preparing Your Equipment
Before you start recording vocals in GarageBand, make sure you have all the necessary equipment like a microphone, headphones, and a pop filter. These items are essential for capturing high-quality sound.
If you’re wondering how to record vocals in GarageBand, the first step is to select the right microphone. You can choose between a USB or an XLR microphone, depending on your recording needs.
USB microphones are user-friendly and easy to set up, while XLR microphones typically offer better sound quality but require an audio interface.
Next, connect your microphone to your Mac. If you’re using a USB microphone, plug it directly into your computer. For XLR microphones, connect them to an audio interface, then link the interface to your Mac.
Position your pop filter about two inches from the microphone to reduce plosive sounds. Pop filters are essential for ensuring your vocal recordings are clean and professional.
Configuring Vocal Channels
To set up vocal channels in GarageBand, enable monitoring so you can hear your vocals through your headphones. This step is essential for achieving accurate pitch and timing.
Once monitoring is on, select a vocal preset from the Sound Library. These presets are designed to enhance your voice with the best EQ settings and effects.
Next, adjust the EQ settings to match your vocal style. You can modify the high, mid, and low frequencies to bring out the finest in your voice. Don’t hesitate to experiment with different reverb and compression settings. These effects can add depth and clarity to your recordings.
Make sure that the ‘Record Enable’ button is checked on the vocal track. This allows you to record on the selected track without interference from other tracks.
Move the play head to the desired starting point and press ‘R’ to begin recording. If you make a mistake, simply move the play head back and record over that section.
After recording, you can split the track into segments to fine-tune each part. This guarantees a polished final product.
Adjusting Backing Tracks
Drag the backing track into GarageBand and tweak its EQ settings for a balanced mix with your vocals. Start by dragging your chosen backing track into a new track lane. This helps you visualize and manage your project more effectively.

Select the track, then open the EQ settings. You’ll want to adjust the frequencies to guarantee the backing track complements but doesn’t overpower your vocals.
Begin by lowering the bass frequencies if they clash with your voice’s lower range. Boost the mid and high frequencies slightly to add clarity without making it too sharp. Use the visual equalizer to see where the peaks are and smooth them out for a more even sound.
Pay attention to how the backing track and your vocals sound together. Use the solo and mute buttons to isolate each track and make precise adjustments. If your backing track has vocals, consider cutting those frequencies to avoid muddling your recording.
Once you’re happy with the EQ, add light compression to the backing track to even out the volume levels. This step guarantees a polished, professional mix, setting the stage for your vocal performance to shine.
Mastering Your Recording
Mastering your recording involves fine-tuning the overall sound and guaranteeing it meets professional standards for clarity and balance. Once you’ve nailed your vocal track, it’s time to polish it for the final mix.
Start by using GarageBand’s built-in mastering tools. These tools help you enhance the overall sound, making it more cohesive and professional.
You’ll want to adjust the EQ, compression, and reverb to add depth and clarity. Pay attention to each element and how they interact. Use automation to control volume levels and panning, creating a dynamic and engaging experience for the listener.
Here’s a quick checklist to get you started:
- EQ Adjustments: Balance the frequencies to secure no range is overpowering.
- Compression: Smooth out the volume peaks and add consistency.
- Reverb: Add space and character without overwhelming the vocals.
- Automation: Adjust volume and pan dynamically for a polished sound.
Don’t rush the mastering process. Take your time to listen critically and make incremental changes. Experiment with different settings and trust your ears. With practice, you’ll get a feel for what works best and craft a polished, professional-sounding track ready to impress your audience.
Saving and Exporting
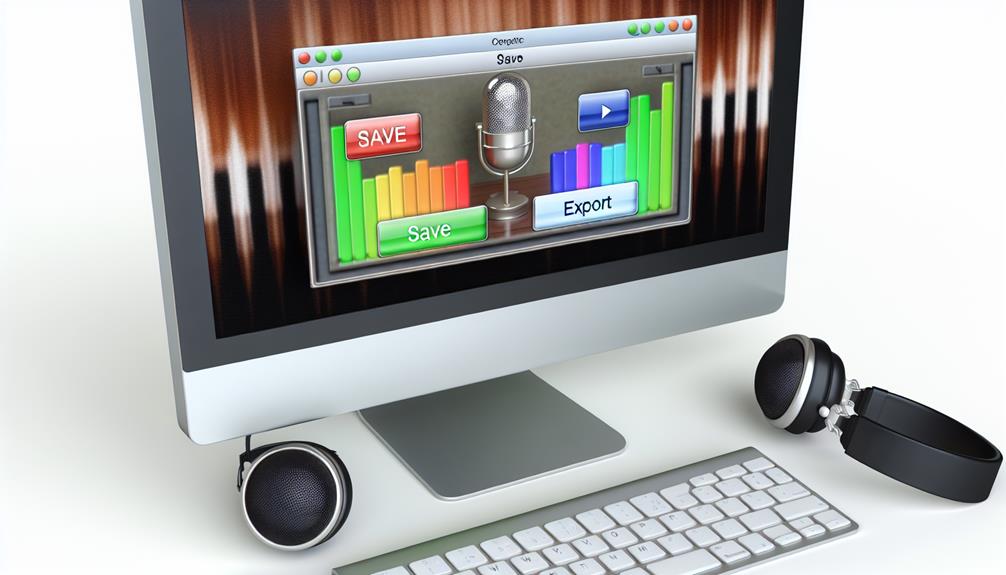
When you’ve perfected your vocal recording in GarageBand, saving your project and exporting it in the desired format is crucial.

Start by saving your project to ensure you don’t lose any of your hard work. Click on ‘File’ in the top menu, then select ‘Save As.’ Name your project and choose a location on your Mac for easy access.
Now, let’s export your recording. Click ‘Share’ in the top menu, then select ‘Export Song to Disk.’ You’ll see options for different formats such as MP3, AIFF, and AAC.
MP3 is great for sharing online, while AIFF offers a higher quality for professional uses. Choose your preferred format and set the quality level. For most purposes, ‘High Quality‘ is adequate.
After selecting your export settings, click ‘Export.’ GarageBand will process your file and save it to the location you specified.
If you need just a section of your recording, use the cycle region feature. Highlight the desired section, then follow the same export steps.
Must Read Guides:
How to Slow Down a Track in GarageBand?
How to Use GarageBand: Start Making Amazing Tracks Now!
How to Change Tempo in Garageband for Perfect Beats?
How to Autotune in GarageBand: Achieve Studio-Quality Sound
Frequently Asked Questions
How Do I Reduce Background Noise During Recording?
To reduce background noise during recording, find a quiet space and use a pop filter. Activate noise gate in GarageBand’s effects and adjust the threshold. Experiment with mic placement and guarantee your environment minimizes echoes and external sounds.
What Is the Best Way to Prevent Vocal Distortion?
To prevent vocal distortion, monitor recording levels closely and keep them below the red zone. Use a pop filter and maintain consistent mic distance. Experiment with EQ settings and compression for a clean, professional sound.
Can I Use Garageband on an iPad for Vocal Recording?
Yes, you can use GarageBand on an iPad for vocal recording. Connect a compatible microphone, set up your track, and take advantage of GarageBand’s intuitive interface and powerful features to create high-quality vocal recordings on the go.
How Do I Isolate Vocals From a Noisy Environment?
To isolate vocals from a noisy environment, create a DIY vocal booth with blankets or foam panels. Use a cardioid microphone to focus on your voice and enable noise reduction features in your recording software for clarity.
What Are the Best Practices for Microphone Placement?
Place your microphone at mouth level, about 6-12 inches away. Angle it slightly to minimize plosives. Use a pop filter and test different positions to find what captures your voice’s best quality in your environment.
Conclusion
You’ve got this! With your equipment set up, vocal channels configured, backing tracks adjusted, and mastering done, you’re ready to record like a pro in GarageBand.
Just remember to save and export your work in the format you need. It might seem like a lot at first, but with practice, it’ll become second nature. Now, go ahead and create something amazing your voice deserves to be heard!
