When you’re prepared to explore recording two tracks at once in Garageband, start by setting up your project with the right tracks tailored to your instruments or audio sources.
You’ll need to configure each track to its own input channel, but the real trick lies in enabling multi-track recording and fine-tuning your input levels.
Don’t forget to monitor levels using Track Volume sliders and pan controls for that perfect stereo balance. Before you hit record, consider potential connectivity or latency issues and how to troubleshoot them. Curious about the specifics? Let’s break it down step-by-step.
Setting Up Your Project
To set up your project in Garageband, start by launching the application and selecting ‘New Project‘ from the main menu. This will give you a blank canvas to begin recording.

Choose a template that suits your needs, such as ‘Empty Project‘ for maximum flexibility. Once your project is open, you’ll need to configure it for multitrack recording.
To record multiple tracks in Garageband, add new tracks by clicking the ‘+’ button in the track list. Select either ‘Audio‘ for recording vocals and instruments or ‘Software Instrument‘ for virtual instruments.
If you’re planning to record two tracks at once in Garageband, make sure both tracks are armed for recording. You can do this by clicking the red record-enable button on each track header.
Next, adjust the track settings to make sure each can receive audio input simultaneously. This involves assigning different input channels to each track. It’s essential for clarity and precision in your final mix.
Once your tracks are set up, you’re ready to start recording. Hit the ‘Record’ button and begin your session. Following these steps will streamline your recording process and set the foundation for a professional-sounding project.
Configuring Input Sources
When setting up input sources in Garageband, make sure each track is assigned a distinct input channel to capture audio accurately and avoid interference.
Start by connecting your audio interface to your Mac and launching Garageband. Once your project is open, navigate to the track headers. Click the track you wish to configure, and then click the ‘Smart Controls‘ button located at the bottom of the screen.
In the Smart Controls pane, click on the ‘Recording Settings‘ tab. Here, you’ll find the ‘Input’ dropdown menu. Choose the appropriate input channel for the first track, ensuring it’s different from the second track’s input channel to prevent crossover.
Repeat the same process for the second track by selecting the correct input source in its ‘Recording Settings’. Verify that each input source is correctly configured by checking the input meters. Properly assigned channels will display distinct audio levels without any overlap.
Additionally, make sure phantom power is enabled if you’re using condenser microphones, and adjust the gain levels on your audio interface for the best signal strength. This meticulous configuration will provide a solid foundation for high-quality, multi-track recordings in Garageband.
Enabling Multi-Track Recording to Record Two Tracks at Once in Garageband
Enable multi-track recording in Garageband by configuring track headers to simultaneously capture audio from multiple input sources. First, make sure you’ve set up all necessary tracks.
Navigate to the Track menu and select “Track Header” to reveal additional options. Here, you’ll find the “Record Enable” button; activate this for each track you want to record simultaneously.
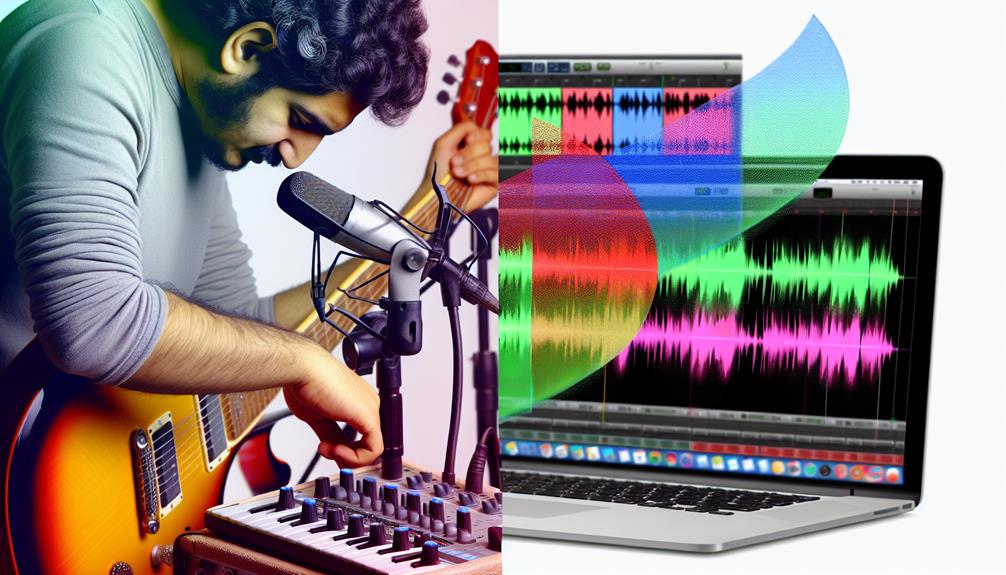
Next, click on the “Input” button on each track header to assign the appropriate input source. For instance, assign one track to your microphone and the other to a guitar interface. This configuration ensures that each track captures audio independently from different sources.
Now, go to the main menu and select “Preferences.” Under the “Audio/MIDI” tab, confirm that your audio interface is correctly recognized and that the input channels align with your track settings. This step is important for seamless multi-track recording.
Monitoring and Adjusting Levels
Accurately monitoring and adjusting levels guarantees that your recordings in Garageband are clear, balanced, and professional. Start by enabling the ‘Record Enable’ button on both tracks. This lets you see the input levels for each track in real-time.
Adjust the input gain on your audio interface to make certain that the levels are neither too low, causing noise, nor too high, causing distortion. Aim for levels that peak around -6 dB to -3 dB.
Next, use the ‘Track Volume’ sliders to set the initial balance between the two tracks. If one track is overpowering the other, reduce its volume until you achieve a harmonious blend.
Utilize the pan controls to give each track its own space in the stereo field, enhancing the overall mix’s clarity.
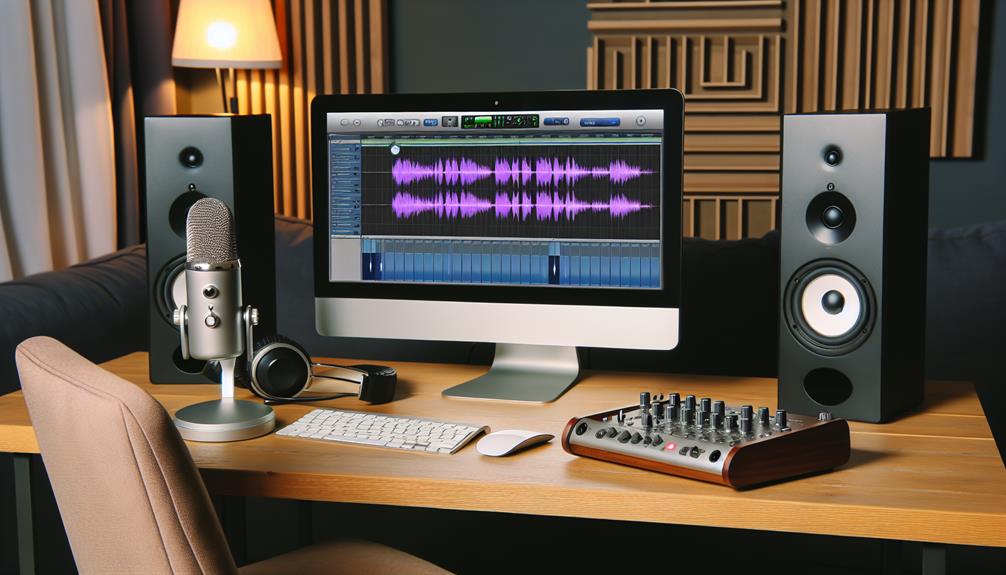
For monitoring, use headphones to avoid bleed from speakers into your microphone. This ensures you hear the true sound of your recording.
Regularly check your levels throughout the session, as changes in performance dynamics can cause fluctuations.
Troubleshooting Common Issues
If you encounter issues during your recording session in Garageband, a systematic approach to troubleshooting can help you quickly identify and resolve common problems.
Start by checking your input devices. Make sure your microphones and instruments are correctly connected and recognized by your Mac or iOS device. Sometimes, simply disconnecting and reconnecting them can resolve connectivity issues.
Next, verify your track settings. Confirm each track is armed for recording by clicking the record-enable button. If you’re not hearing any sound, check your monitoring settings and ensure the correct input source is selected for each track. Adjust the input levels to make sure they’re neither too low nor clipping.
Additionally, inspect your audio preferences. Go to Garageband > Preferences > Audio/MIDI and verify your audio interface is correctly set as the input and output device. If latency is an issue, try reducing the buffer size; however, be mindful that this can increase the CPU load.
Frequently Asked Questions
Can Garageband Record Two Tracks Simultaneously on Both Mac and Ios?
Yes, you can record two tracks simultaneously on both Mac and iOS using Garageband. Make sure your input sources are correctly configured and enable multitrack recording in the track headers for a seamless, professional recording experience.
What Types of Instruments Can I Record on Separate Tracks?
You can record a range of instruments on separate tracks, including guitars, keyboards, vocals, and drums. Just connect your instruments and configure the input sources in Garageband. This setup guarantees high-quality, professional recordings.
Does Garageband Support MIDI Instruments for Dual-Track Recording?
Yes, Garageband supports MIDI instruments for dual-track recording. You’ll need to connect your MIDI device, configure the tracks, and assign each to a different instrument. This setup enables simultaneous recording with precise synchronization for professional results.
How Do I Add Effects to Individual Tracks Post-Recording?
To add effects to individual tracks post-recording, select the track, open the Smart Controls, then choose and adjust effects like reverb, delay, or EQ. You’ll achieve professional results while feeling part of the music community.
Can I Use Third-Party Plugins for My Recordings in Garageband?
Yes, you can use third-party plugins in Garageband. Just install the plugin, then go to the track’s Smart Controls, click “Plug-ins,” and add your desired plugin. Enhance your recordings with endless possibilities!
Conclusion
By following these steps, you’ll successfully record two tracks simultaneously in Garageband. Set up your project with multiple tracks, configure distinct input sources, and enable multi-track recording.
Don’t forget to monitor and adjust input levels for peak quality. Address any connectivity or latency issues promptly.
With these techniques, you’re now equipped to capture high-quality recordings efficiently and professionally. Happy recording!