
Creating a unique ringtone in GarageBand is easier than you might think. Begin by importing a music file of your choice and trim it to a 15-30 second snippet for a polished result.
Precision is crucial, so adjust the start and end points carefully to guarantee seamless playback. Don’t forget to fine-tune volume levels and add sound effects for that extra touch of clarity and uniqueness.
Once you’re satisfied, export the file as a ringtone and save it in the My Songs browser. Curious about the final steps to set and customize your new ringtone on your iPhone? Let’s explore further.
Preparation Steps
Before you start creating a custom ringtone, you’ll need to make sure GarageBand is installed on your iPhone and have a suitable sound file ready. If you don’t have GarageBand yet, head over to the App Store and download it.
Once installed, open the app to familiarize yourself with its layout. For your sound file, you can either pick a song from your Music app or download a free sound clip from a website like Pixabay.
To begin the actual process of how to make a ringtone in GarageBand, open the app and select the “Audio Recorder” option. This feature helps you capture clear sound without unnecessary noise. Adjust the settings to filter out any background sounds, ensuring your recording is crisp and clean. You can tweak the recording levels and other settings to perfect your sound.
Once your setup is complete, you’re ready to move on to the next steps.
With your sound file prepped and GarageBand set up, you’re well on your way to crafting a unique ringtone. Remember, innovation starts with the right tools and a bit of creativity. Enjoy the journey!
Importing Music
To start importing music, click the Loop button in GarageBand to choose your source.
You can select files or music from your device, and once imported, adjust the start and end points for precision.
Play back your selection to make sure it flows smoothly and sounds just right before saving.
Selecting Import Sources
Exploring GarageBand’s import options is crucial for bringing your favorite tunes into the app for ringtone creation. Knowing how to make a ringtone from GarageBand starts with selecting the right import source.
Here’s a simple guide to help you get started:
- Apple Music: If you have songs saved in your Music app, you can easily import them. Tap the Loop button, select ‘Music,’ and choose your song.
- Files App: Got audio files stored on your device? Just tap the Loop button, go to ‘Files,’ and navigate to your desired sound file.
- Apple Loops: Take advantage of GarageBand’s built-in loops. Tap the Loop button, then ‘Apple Loops,’ and browse through a variety of sounds.
- External Sources: If you have music from other sources, make sure they’re saved in a compatible format and accessible via the Files app.
Trimming Music Precisely
Trimming your imported music precisely in GarageBand guarantees that your custom ringtone sounds just right. To begin, import your selected track by clicking the Loop button. This opens up your options for bringing in files.
Once you’ve chosen your music, it’s time to get hands-on with the editing. Position the playhead at the start of the section you want for your ringtone. Tap the track, then drag the edges of the waveform to trim it down. Remember, a ringtone should ideally be 15-30 seconds long.
Precise trimming ensures that your ringtone starts and ends exactly where you want, avoiding any awkward silences or abrupt cuts. Don’t forget to zoom in for finer control. Pinch the screen to zoom, allowing you to see waveforms more clearly and make more exact adjustments.
Play back your selection repeatedly to make sure it captures the perfect snippet of your song.
Ensuring Seamless Playback
After you’ve precisely trimmed your music, ensuring smooth playback is the next step to perfecting your ringtone. To achieve this, you’ll need to import your music into GarageBand and make sure it flows seamlessly from start to finish.
Here’s how to do it:
- Click the Loop Button: Open GarageBand and tap on the Loop button, usually located in the upper-right corner. This will give you access to import options.
- Import Your Music: Choose whether you want to import from the Music app or a file. Select the track you want to use.
- Adjust Start and End Points: Once the track is in GarageBand, use the trimming handles to fine-tune the start and end points. This ensures your ringtone begins and ends exactly where you want.
- Playback Check: Play the selection to make sure it flows smoothly. Adjust as necessary until you’re satisfied with the playback.
Mastering how to make a ringtone on GarageBand involves attention to detail. By ensuring smooth playback, your ringtone will sound professional and polished every time your phone rings.
With these steps, you’ll be ahead of the curve, creating custom ringtones that stand out.
Editing Your Track
Now that you’ve imported your music, it’s time to start editing your track. First, trim the audio clips to get the perfect length for your ringtone.

Next, adjust the volume levels and add any sound effects to make your ringtone stand out.
Trimming Audio Clips
When editing your track, you’ll want to focus on precisely trimming the audio clips to guarantee a smooth and seamless ringtone. This step is important in learning how to make a ringtone with GarageBand.
Here’s how you can do it efficiently:
- Select the Track: Tap on the track you want to trim. Use the split tool to chop the audio at the desired start and end points.
- Drag to Adjust: Once split, drag the edges of the clip to fine-tune the selection. Make sure to zoom in for a more precise cut.
- Loop Preview: Play the trimmed section on a loop to make sure it sounds cohesive. Adjust as needed to avoid abrupt starts or ends.
- Delete Unwanted Sections: Remove any extra parts of the clip that you won’t be using. This keeps your workspace clean and your ringtone precise.
Adjusting Volume Levels
Fine-tuning the volume levels is the next step to guarantee your ringtone sounds perfect on any device. Once you’ve trimmed your audio clip to the desired length, it’s important to make sure that every note and beat comes through clearly.
Start by selecting the track you want to adjust. Tap on the track header to open the track settings.
In the settings menu, you’ll find the volume slider. Use this slider to adjust the overall volume of your track. It’s vital to strike a balance; too loud can distort the sound, while too soft might make it hard to hear. Play the track back and make small adjustments until it sounds just right.
To achieve a more refined sound, consider using the automation feature. Tap on the track again and enable automation. This allows you to control the volume at different points in the track, ensuring smooth adjustments and consistent sound levels.
Drag the automation points up or down to increase or decrease the volume as needed.
Adding Sound Effects
Incorporating sound effects into your track can elevate your ringtone’s uniqueness and appeal. When learning how to use GarageBand to make a ringtone, adding sound effects is a fun and innovative step.
Here’s how you can do it:
- Select the Sound Effects Library: Tap the Loop Browser (the loop icon). Here, you’ll find a variety of sound effects categorized by type.
- Choose Your Effect: Browse different categories like ‘Nature,’ ‘Ambience,’ or ‘Electronic.’ Tap to preview each sound effect.
- Drag and Drop: Once you find a sound effect you like, drag it from the Loop Browser and drop it onto your track at the desired position.
- Adjust and Blend: Use the editing tools to adjust the volume, fade in/out, or trim the sound effect to fit seamlessly into your track.
Exporting the Ringtone
To export your freshly crafted ringtone from GarageBand, tap the My Songs button to save your project. Your ringtone will be saved in the My Songs browser.
Tap and hold your project until it starts to wiggle, then tap the Share button. A menu will pop up—select Ringtone.
Next, GarageBand will ask you to name your ringtone. Choose a name that reflects your creativity and innovation. Once named, tap Export.
The export process will begin, and within a few moments, GarageBand will notify you that your ringtone has been successfully exported.
Wondering how to make a ringtone on iPhone with GarageBand? You’ve just done it! This process guarantees your custom sound can now be set as your ringtone.
GarageBand offers an intuitive interface, making it simple to create and export your unique tones. With this method, you’re not just limited to standard ringtones; the possibilities for personalization are endless.
Setting the Ringtone
Once you’ve exported your custom ringtone from GarageBand, it’s time to set it up on your iPhone. Follow these simple steps to make your new creation ring loud and clear.

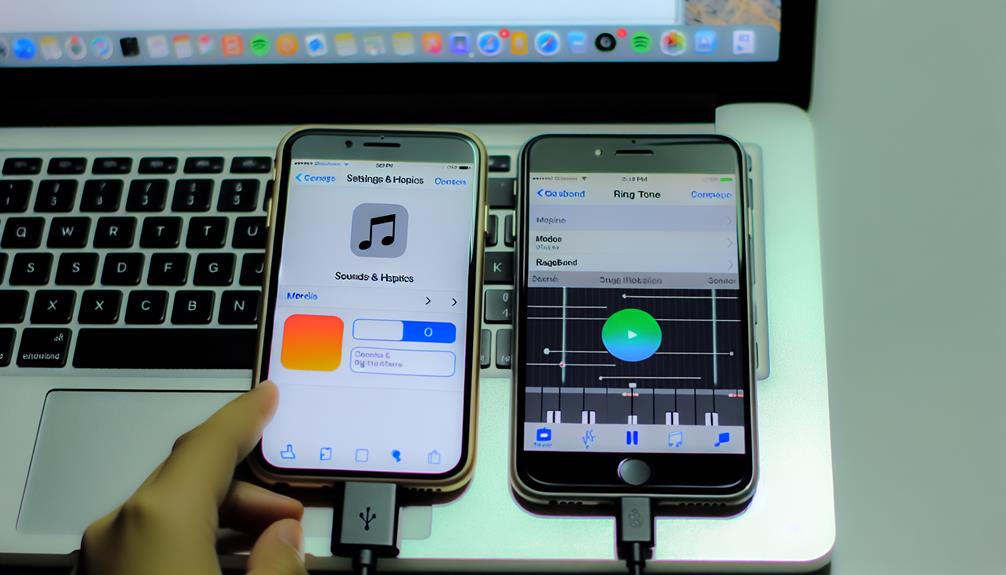
- Open Settings: Start by opening the Settings app on your iPhone. Scroll down and tap on ‘Sounds & Haptics.’
- Select Ringtone: Under ‘Sounds and Vibration Patterns,’ tap ‘Ringtone.’ This will bring up a list of available ringtones, including your newly created one.
- Choose Your Ringtone: Scroll through the list until you find your custom ringtone. Tap on it to select it. You should hear a preview of your chosen tone.
- Set for Specific Contacts: If you want to assign this ringtone to a specific contact, go to the Contacts app, select the contact, tap ‘Edit,’ then ‘Ringtone,’ and choose your custom tone.
Customizing Ringtone Length
After setting your custom ringtone, you’ll want to make sure it’s the perfect length for a seamless ring. GarageBand lets you easily customize ringtone length to guarantee it fits within the ideal 30-second duration. Start by opening your project in GarageBand and locating the track view. Use the time ruler to precisely set your desired start and end points.
| Step | Action |
|---|---|
| Open your project | Tap on the track to view details |
| Adjust start and end points | Drag the handles on the time ruler |
| Test your changes | Play back the segment |
When customizing ringtone length, focus on a smooth shift by avoiding sudden cuts. This makes your ringtone sound professional. If your chosen segment exceeds 30 seconds, trim it down using the handles on the time ruler. For a polished finish, you might also want to tweak the fade-in and fade-out effects.
Managing Ringtones on Iphone
Managing custom ringtones on your iPhone is straightforward, allowing you to easily personalize your device’s sound profile. Once you’ve created your custom ringtone in GarageBand, follow these steps to manage it on your iPhone:
- Access Settings: Open the Settings app on your iPhone and navigate to ‘Sounds & Haptics.’
- Select Ringtone: Tap on ‘Ringtone’ to view the list of available ringtones, including your newly created one.
- Set Ringtone: Choose your custom ringtone from the list to set it as your default ringtone.
- Assign to Contacts: If desired, assign specific ringtones to individual contacts for a personalized touch.
Managing ringtones on iPhone not only allows you to set your custom ringtone as the default but also to differentiate between callers by assigning unique tones.
This adds a level of personalization to your device that reflects your style and preferences. Remember, you can always return to the ‘Sounds & Haptics’ menu to change or update your ringtones as often as you like.
Embrace the innovation and make your iPhone truly yours by managing ringtones effectively.
Must read tutorials for garage band enthusiast:
How to Use GarageBand on iPhone: Create Music Anywhere
How to Record Guitar in GarageBand?
How to Cut Music on GarageBand?
How to Import a Song Into Garageband?
Frequently Asked Questions
How Can I Fix Garageband Crashing During Ringtone Creation?
You can fix GarageBand crashing by ensuring your iPhone has enough free storage, closing other apps, and restarting the device. If that doesn’t work, try updating GarageBand or reinstalling the app for better performance.
Can I Use Garageband on an Older Iphone Model?
Yes, you can use GarageBand on an older iPhone model! Make sure your iOS is updated to the latest version compatible with your device. GarageBand’s powerful features work smoothly, allowing you to innovate and create custom ringtones effortlessly.
How Do I Find and Use Apple Loops in Garageband?
To find Apple Loops in GarageBand, tap the Loop Browser icon, and explore various categories. Drag your chosen loop into the project. Leverage these loops creatively to innovate and elevate your music production effortlessly.
Is It Possible to Create a Ringtone Longer Than 30 Seconds?
You can’t create a ringtone longer than 30 seconds in GarageBand due to iPhone’s limitations. However, you can innovate by seamlessly blending multiple 30-second clips to extend your ringtone beyond the standard limit.
Can I Add Multiple Tracks to a Single Ringtone in Garageband?
Yes, you can add multiple tracks to a single ringtone in GarageBand. Just layer your tracks creatively, adjust volumes, and merge them. This allows you to innovate and craft a unique, multi-dimensional ringtone easily.
Conclusion
You’ve got this! Making a ringtone in GarageBand is a breeze when you follow these steps.
Import your music, trim it to the perfect length, and tweak the volume for clarity.
Once you’re happy with your creation, export it as a ringtone and save it in the My Songs browser.
Finally, head to your iPhone’s Settings, under ‘Sounds & Haptics,’ to set your custom ringtone.
Enjoy your personalized sound profile every time your phone rings!