When you’re looking to autotune in GarageBand, you’ll start by opening a new project and selecting the right track for your vocals. Next, you’ll want to locate the Pitch Correction tool in the smart controls.
By clicking on the Track Editor icon, you can access more nuanced editing tools like Limit to Key and Pitch Correction for harmonically consistent results.
It’s crucial to experiment with different settings, adjusting the Pitch Correction slider to achieve your desired sound. But how do you guarantee the autotune effect enhances rather than detracts from your track?
Open GarageBand and Create a Project
To get started with autotuning in GarageBand, open the application and create a new project by selecting your desired project type. Whether you’re working on a podcast, a song, or any other audio project, the initial setup is important.
Once GarageBand is open, navigate to the ‘File’ menu and choose ‘New Project.’ You’ll be prompted to select the type of project you wish to create. Choose wisely based on your specific needs.
Understanding how to autotune on GarageBand starts with this foundational step. After creating your project, it’s vital to choose a track to apply autotune to, typically a vocal track. This is where the magic happens. Autotune can correct pitch imperfections and add a professional sheen to your recordings.
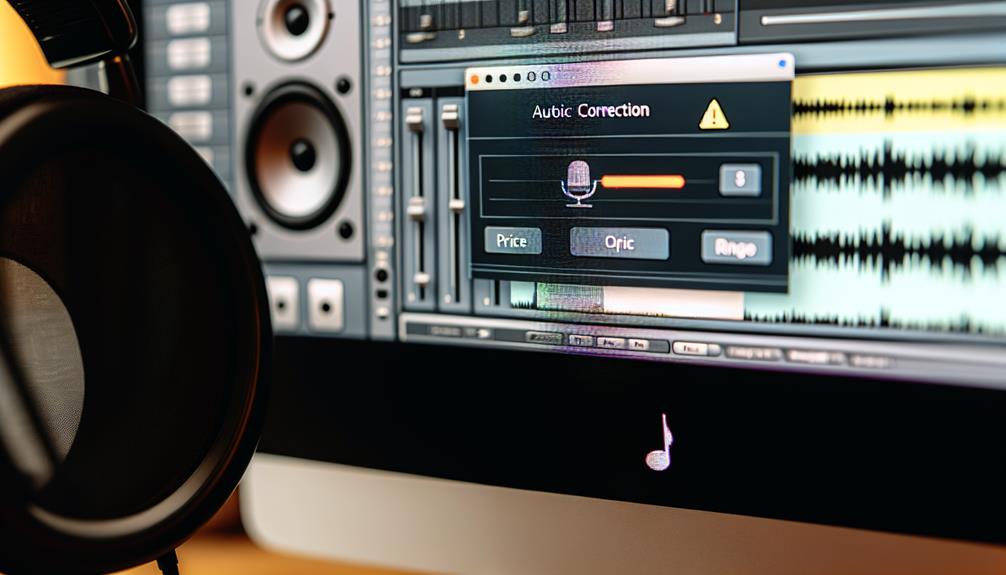
Next, locate the pitch correction tool within GarageBand. This tool is integral to how to do autotune in GarageBand. Navigate to the smart controls at the bottom of the screen, then look for the “Pitch Correction” slider. Adjust the intensity of the autotune effect by moving the slider to your desired level.
Knowing how to add autotune on GarageBand effectively can transform your project, ensuring your vocals hit the right notes consistently.
Select and Edit Your Track
Selecting and editing your track in GarageBand is vital for achieving precise autotune effects. Start by selecting the track you want to edit from the Tracks view. Click on the Track Editor icon at the bottom of the screen to open the Track Editor. This is where the magic happens.
In the Track Editor, you have access to powerful tools like Limit to Key and Pitch Correction. These tools are essential for anyone looking to master how to autotune with GarageBand.
First, enable the Limit to Key option to make sure that all pitch corrections are confined to the key and scale of your song. This prevents any unnatural-sounding notes and keeps your track harmonically consistent.
Next, focus on the Pitch Correction slider. Slide it to adjust the amount of pitch correction applied to your track. For a subtle effect, use a lower setting. For that classic autotune sound, crank it up higher.
Always listen to your track within the context of your entire song, making incremental adjustments to achieve the desired effect.
Experimentation is key here. Fine-tune your settings while keeping your song’s key and scale in mind, and you’ll nail the autotune effect in no time.
Access Plug-ins & EQ Settings to Autotune in GarageBand
To access plug-ins in GarageBand, select your track and click the ‘Edit’ button, then navigate to the ‘Audio Units‘ for autotune options.
Adjusting EQ settings is straightforward; simply click the EQ button in Smart Controls after selecting your track. Experiment with these settings to refine your sound and save custom configurations for future use.
Opening Plug-ins Menu
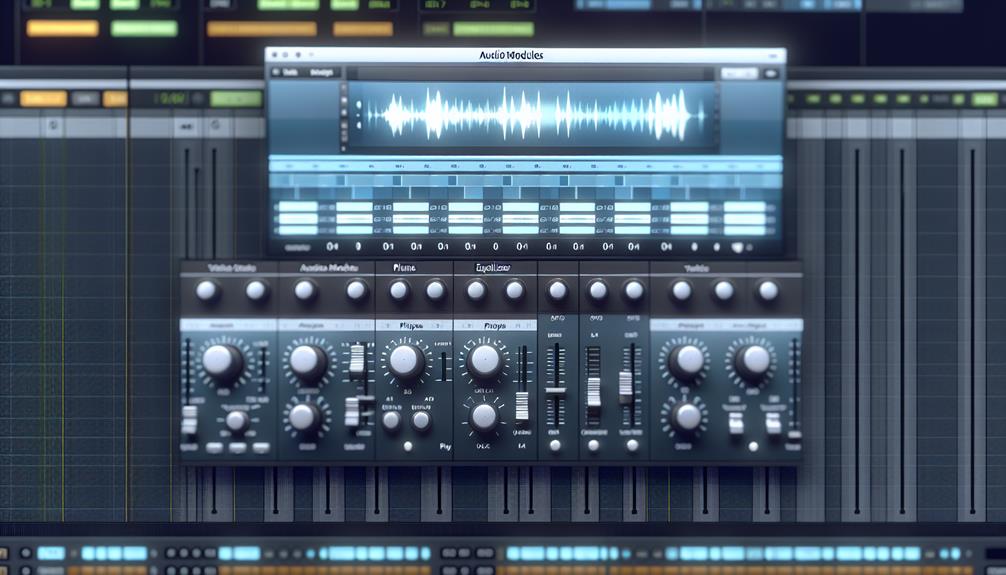
When you’re ready to access plug-ins and EQ settings in GarageBand, start by clicking the ‘Smart Controls’ button in the control bar. This action opens the Smart Controls window, where you can fine-tune your audio tracks. Next, click on the ‘Plug-ins’ button to reveal the list of available plug-ins for the selected track.
Here’s a breakdown of what you can do:
| Task | Description |
|---|---|
| Access Plug-ins | Click the ‘Plug-ins’ button to view available plug-ins |
| Add Effects | Choose from various effects to enhance your track |
| Customize EQ Settings | Click the ‘EQ’ button within the Smart Controls window |
| Experiment with Filters | Utilize different filters to modify and polish your sound |
Adjusting EQ Settings
After exploring the plug-ins menu, focus on adjusting EQ settings by clicking the Mixer icon to access the Channel EQ plug-in, allowing precise control over individual track frequencies. This is vital for tailoring your sound, whether you’re enhancing the clarity of vocals or boosting the punch of a bassline.
Begin by customizing the EQ settings through the graphical interface. You’ll see a spectrum analyzer that visually represents your track’s audio frequencies. Use the nodes on the graph to boost or cut specific frequency bands. For instance, cutting low-end frequencies can reduce muddiness, while boosting high frequencies can add brilliance to vocals.
Experiment with different EQ presets available in GarageBand to achieve a polished sound quickly. These presets are designed for various instruments and vocal types, giving you a solid starting point. However, don’t hesitate to tweak them further to suit your mix.
Fine-tuning the EQ settings is essential for a balanced mix. Pay attention to how each track interacts with others in the mix. A well-adjusted EQ can guarantee that every element of your track occupies its own space in the frequency spectrum, leading to a cleaner, more professional sound.
Apply Pitch Correction Plugin
Activate the pitch correction plugin in GarageBand by pressing B on your keyboard, then fine-tune the intensity with the adjustable slider ranging from 0 to 100.
This slider allows you to control the degree of pitch correction applied to your vocals, ensuring you can achieve anything from subtle tuning to a more robotic effect, depending on your artistic vision.
For best results, always apply pitch correction after recording your vocals. This ensures that the plugin addresses the natural nuances of your performance without any real-time processing artifacts.
Once the plugin is active, experiment with key selection to match the pitch correction to the song’s key, enhancing the natural harmony of your track.
Additionally, utilize the humanizing feature within the plugin to maintain a natural vocal quality, avoiding an overly processed sound. This feature is essential for retaining the authenticity and emotional impact of your performance.
Speed control settings also play a significant role here, allowing you to adjust how quickly the pitch correction responds to off-key notes.
Adjust Autotune Settings
Fine-tune your Autotune settings in GarageBand by manipulating the pitch correction slider, key selection, and humanizing parameters for best vocal enhancement. To start, access the Autotune feature by pressing B to activate pitch correction.

Adjusting the intensity of Autotune is straightforward with the pitch correction slider, which ranges from 0 to 100. This allows you to set the desired level of pitch correction to suit your recording.
Next, select the key that matches your song. Ensuring the key is accurately set is essential for accurate pitch correction.
| Setting | Description | Range |
|---|---|---|
| Pitch Correction Slider | Adjusts the intensity of pitch correction | 0 to 100 |
| Key Selection | Matches pitch correction to song’s key | Various musical keys |
| Humanizing | Adds natural variation to avoid synthetic sound | Available in paid plugins |
| Speed Control | Determines how quickly pitch correction is applied | Available in paid plugins |
| B Activation | Shortcut to activate pitch correction | Press B |
If you’re using a paid plugin, you can further refine your vocals by adjusting the humanizing settings and speed control. The humanizing parameter subtly enhances the vocal performance, avoiding an overly synthetic sound.
Experiment With Effects
GarageBand’s diverse effects, like Reverb and Echo, allow you to elevate your vocal tracks by adjusting the Master Effects sliders to meticulously control the intensity and create a polished sound.
Begin by exploring the available presets for both Echo and Reverb. These presets offer a starting point, and tweaking the sliders can help you fine-tune the effects to match your desired vocal quality.
Don’t hesitate to experiment with various combinations of effects. Applying Reverb can add depth and space to your vocals, making them sound richer and more immersive. Meanwhile, Echo can create a sense of delay and repetition, adding texture and complexity to your track.
Both effects, when used judiciously, can significantly enhance the overall quality and depth of your vocal recordings.
Use the Master Effects section as your control center. Adjust the sliders to balance the effects, ensuring they complement rather than overpower your vocals. By taking the time to experiment, you’ll discover unique sounds that set your tracks apart.
This process not only refines your vocal tracks but also helps you develop a signature style within GarageBand, fostering a sense of belonging in the music production community.
Frequently Asked Questions
Is There Auto-Tune in Garageband?
Yes, GarageBand includes auto-tune, referred to as pitch correction. Activate it by pressing B and adjust the intensity using the slider. For advanced smoothing, consider paid plugins like Antares Autotune, which offer enhanced control and features.
Can You Pitch Correct in Garageband?
Yes, you can pitch correct in GarageBand. Activate pitch correction by pressing B, then adjust the slider from 0-100 to fine-tune your vocals. For advanced features, consider professional plugins like Antares Autotune.
What Is the Free Auto-Tune Plugin for Garageband?
The free Auto-Tune plugin for GarageBand is ‘Pitch Correction.’ Activate it by pressing B. Adjust the effect’s intensity with the 0-100 slider to enhance your vocals’ pitch accuracy, ensuring professional-sounding recordings within your creative community.
How Do You Put Auto-Tune on Your Voice?
To apply auto-tune to your voice, access the Track Editor, set the key and scale, and enable Extreme Tuning. Adjust Pitch Control for accuracy and add Reverb or Echo to enhance your vocal track’s professional quality.
Conclusion
You’ve now mastered the essentials of autotuning in GarageBand. By carefully selecting your track, utilizing Pitch Correction tools, and fine-tuning your settings, you can achieve a polished, professional sound.
Remember, incremental adjustments and continuous listening are key to best results. With these techniques, your tracks will stand out and resonate with your audience.
Keep experimenting with different effects to refine your skills and expand your creative horizons. Happy producing!