When you’re looking to sharpen the timing of your tracks in GarageBand, quantization is your go-to tool. To start, select the track you want to adjust and access its settings. From there, choose a quantization level that suits your musical piece, whether it’s straight, one over sixteenth notes, or one over eighth notes.
Playing around with these settings can refine your rhythm and polish your sound. Whether you’re on iOS or Mac, understanding how to navigate the quantization menu and fine-tune your timing can make a significant difference. But what’s the best approach for your specific project?
Learn how to effectively quantize in GarageBand to enhance your music production skills.
Understanding Quantization
Understanding quantization in GarageBand involves aligning musical notes and beats to a precise grid, ensuring improved timing and rhythm. When you learn how to quantize in GarageBand, you’ll enhance your musical projects by correcting timing discrepancies and creating a polished sound.
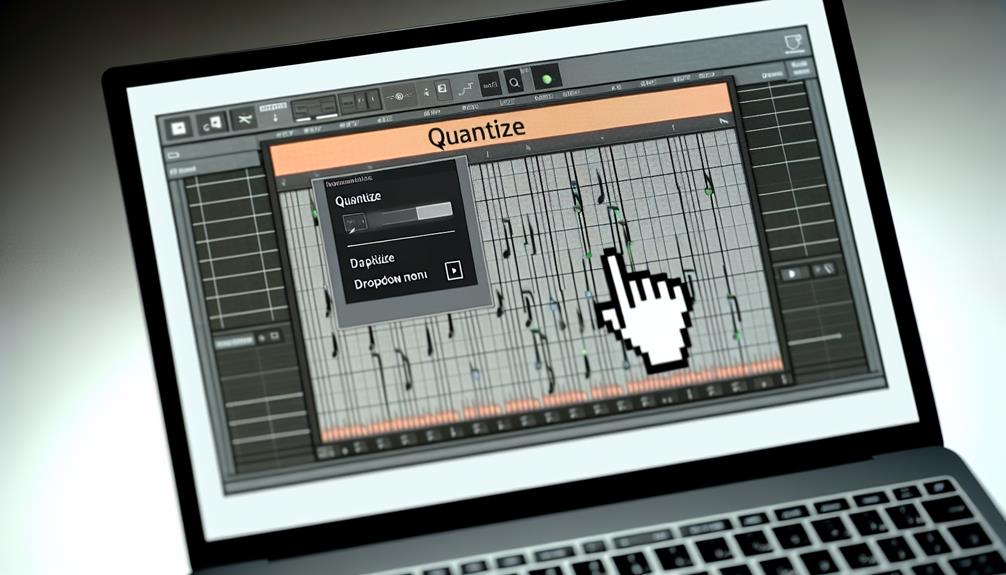
To begin, select the track you want to quantize. Access the track settings and look for the quantization menu. This menu allows you to choose the level of precision, such as straight, one over sixteenth notes, or one over eighth notes.
These options help align your notes to the closest grid point, making your performance tighter and more consistent.
Once you’ve selected the appropriate quantization value, apply the changes and listen to the results. If the timing isn’t perfect, don’t hesitate to experiment with different settings until you achieve the desired effect.
Quantize in Garageband for Ios
To quantize in GarageBand for iOS, start by opening the track controls and tapping on the track settings to access the quantization menu. This menu allows you to select the quantization value that best suits your recorded instrument.
For instance, if you’re working with a drum track, you might begin with a one over sixteen note setting, ensuring your beats align precisely on the grid.
Once inside the quantization menu, experiment with different values to find the best fit for your track. Straight quantization works well for most instruments, but don’t hesitate to try one over eighth notes or other options based on your project’s needs.
You’ll find that quantizing tightens the timing of your tracks, making them sound more professional and cohesive.
After selecting your quantization value, listen closely to the changes. If the timing feels off, adjust accordingly. Remember, quantization isn’t a one-size-fits-all solution; it requires some experimentation.
By refining your approach, you’ll enhance the overall quality of your music, making it sound polished and in sync.
This practice encourages a sense of camaraderie among GarageBand users, all aiming for impeccable timing and rhythm in their projects.
Quantize in GarageBand for Mac
In GarageBand for Mac, quantizing your tracks begins by double-clicking the MIDI region you want to adjust. This action opens the Piano Roll editor at the bottom of your screen.
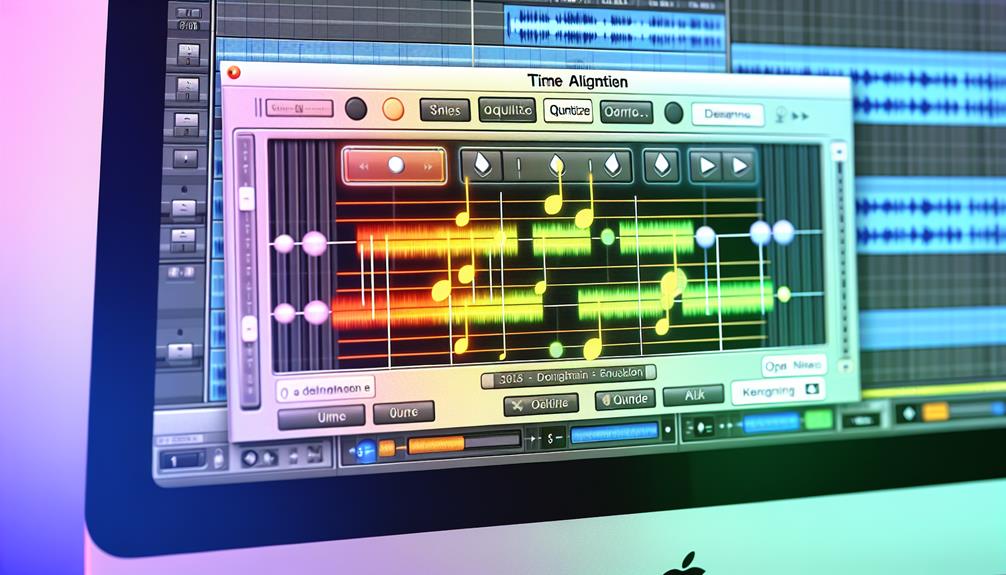
Next, select the notes you wish to align. You can use the Command key to select multiple notes or drag a selection box around them. Once your notes are highlighted, navigate to the ‘Time Quantize‘ dropdown menu located in the Piano Roll editor.
Choose the desired quantization value from the menu, such as 1/16 notes, 1/8 notes, or triplets. This setting will align your selected notes to the nearest grid value, tightening up your timing.
Adjust the ‘Strength’ slider to control how strictly the notes adhere to the grid, allowing for a more human feel if desired.
After setting your quantization preferences, press ‘Return’ to apply the changes. Don’t forget to listen back to your track to make sure the adjustments enhance your performance.
If needed, fine-tune by dragging individual notes or adjusting the quantization settings. This meticulous process guarantees your music sounds polished and professional, fostering a sense of community with fellow musicians.
Applying Quantization to Tracks
Applying quantization to tracks in GarageBand guarantees that your musical elements align perfectly with the grid, providing a polished and professional sound.
To start, open your project and identify the track you want to quantize. Select the track, then access the track controls by tapping the gear icon. In the track settings menu, find and select the quantization option.
Choose a quantization value that best suits the instrument and the desired rhythmic precision. For instance, selecting one over sixteenth notes is a good starting point for most instruments.
If you’re working with drum tracks, you might prefer one over eighth notes to secure a tight rhythm section. Experiment with different values to determine the best fit for your project.
Apply the chosen quantization setting by confirming your selection. You should notice an immediate improvement in timing accuracy. For more precise adjustments, consider soloing the track and listening closely to make sure the quantization aligns perfectly with the rest of your project.
Tips and Resources
When you’re ready to refine your project’s timing further, leveraging a few tips and resources can greatly enhance your use of GarageBand’s quantization feature. Start by familiarizing yourself with the free guide, ‘Getting Started with GarageBand,’ which covers the basics and provides a solid foundation.
Experiment with different quantization settings to find the perfect fit for each instrument in your track. For drums, try starting with one over sixteenth notes and adjust as necessary.
Regular practice is essential. Spend time understanding how different quantization values affect various instruments. This hands-on experience will build your confidence and improve your overall production quality.
Utilize the volume automation feature to make precise adjustments, ensuring each note hits just right.
Don’t overlook the community and online forums. Engaging with other GarageBand users can provide valuable insights and techniques that you mightn’t find in official guides. Websites like Reddit and the Apple Support Community are excellent places to ask questions and share tips.
Frequently Asked Questions
Does Garageband Support Non-Western Musical Scales and Quantization?
Yes, GarageBand supports non-Western scales through its World Instruments feature. You can quantize these scales by selecting the appropriate instrument, accessing track settings, and choosing the desired quantization value to maintain rhythmic accuracy.
Can I Quantize Audio Recordings, Not Just MIDI Tracks?
Yes, you can quantize audio recordings in GarageBand. Use the Flex Time feature: select the audio track, enable Flex Time, and choose the quantization value. This tightens your audio timing, enhancing your project’s overall quality.
How Do I Revert Changes After Applying Quantization?
To revert changes after applying quantization, you’ll need to select the track, access track settings, and reset the quantization value to ‘off’. This restores your track to its original timing, ensuring your work feels authentic again.
What Are the Limitations of Quantization in Garageband?
Quantization in GarageBand can’t perfectly correct complex rhythms or human nuances. You might find it challenging to maintain the original feel of your music. It’s important to experiment and balance quantization with manual adjustments for best results.
Can I Automate Quantization Changes Throughout a Track?
You can’t directly automate quantization changes within a track in Garageband. Instead, split the track into regions and apply different quantization settings to each region, allowing you to tailor the timing for specific sections.
Conclusion
By mastering quantization in GarageBand, you’ll enhance your music’s timing and create a polished, professional sound.
Whether you’re using an iOS device or a Mac, the process is straightforward: access the track settings, select the appropriate quantization level, and fine-tune as needed.
Experiment with different settings to find what best suits your project.
With practice, you’ll seamlessly integrate quantization into your workflow, elevating your music production skills to the next level.