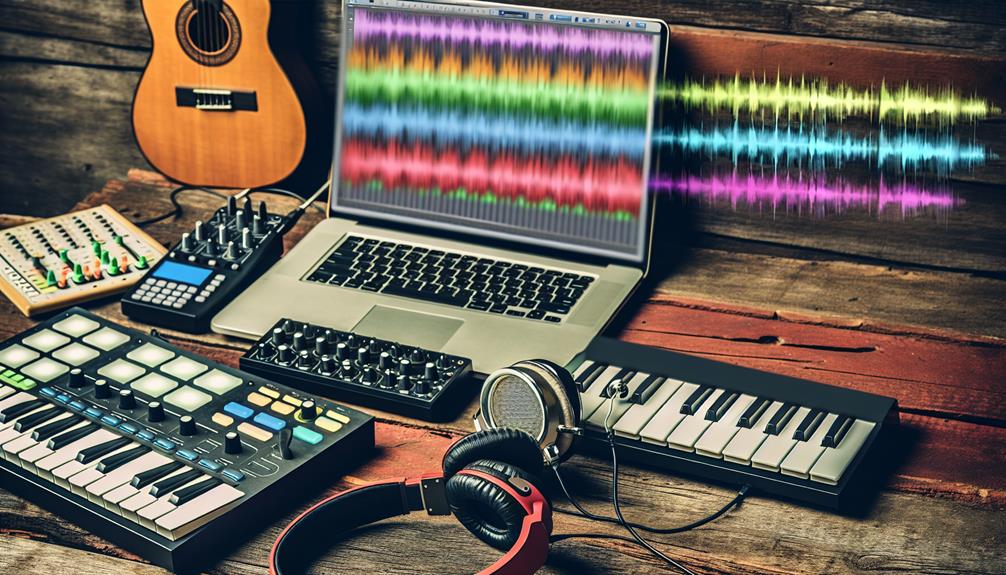
When you’re getting started with making beats on GarageBand, the first step is to create a new project and choose the drum instrument. You’ll find that GarageBand offers two main approaches: using drummer tracks for a quick setup or programming your own beats with MIDI for more control.
Experimenting with various drum kits and adjusting the tempo can help you craft the perfect rhythm. But how do you take your beats from basic to brilliant?
There’s a lot more to explore, including the use of Apple Loops and advanced editing techniques that can elevate your music production skills.
Make Beats on Garageband – Getting Started
Have you ever wondered how to start making beats in GarageBand? You’re in luck because it’s easier than you might think. Whether you’re on a Mac or using your iPhone, GarageBand provides a user-friendly platform for beat-making.
First, open GarageBand and start a new project. If you’re on an iPhone, tap the “+” button to create a new song. Select ‘Drums‘ from the instrument options. Now, you’re ready to get started!
To make a beat, begin by choosing a drum kit from the library panel. GarageBand offers a variety of drum kits, from acoustic sets to electronic beats. Tap on the drum pads to hear the different sounds. When you’ve found a kit you like, tap the record button and start playing.
Use the metronome to keep time, ensuring your beats are consistent. Don’t worry if your first attempts aren’t perfect. GarageBand allows you to edit your recordings easily. Simply tap on the track and adjust the timing or volume.
Experiment with different sounds and patterns. With practice, you’ll get the hang of how to make a beat on an iPhone or Mac with GarageBand. Happy beat-making!
Drummer Tracks
To set up a drummer track in GarageBand, start by creating one in a blank session. Open GarageBand, click on the “+” button to add a new track, and select “Drummer.” You’ll see a range of drummers and drum kits in the library panel. Choose one that fits your style, whether it’s rock, hip-hop, or electronic.
Once you’ve selected your drummer, you can customize your beat. Click on the drummer track to open the editor panel. Here, you can adjust the complexity and loudness of the beat using the XY pad. Move the puck around to change how the drums sound.
Here are some tips to help you make the most out of drummer tracks:
- Experiment with different drummers: Each one has a unique style.
- Adjust the feel: Use the “Feel” knob to swing the beat or make it tighter.
- Add fills: Increase or decrease the number of fills to keep the beat interesting.
- Customize individual parts: Click on drum pieces to mute or change them.
- Use presets: Save your favorite customizations as presets for quick access.
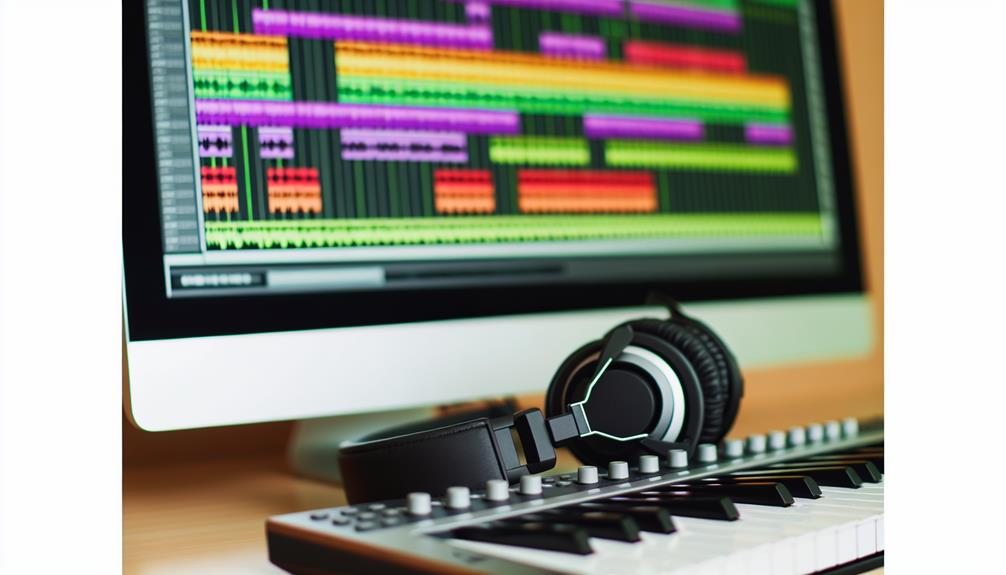
MIDI Programming
Explore MIDI programming by adding a software instrument track and selecting your preferred drum kit from the library panel. With your drum kit chosen, you’re ready to record your beat idea. Use a MIDI controller or GarageBand’s musical typing feature. Make sure the metronome is on to keep your rhythm tight.
Step 1: Add Track
- Action: Create a software instrument track.
- How to: Open your digital audio workstation (DAW) and navigate to the track options. Select “Add Track” and choose “Software Instrument” to create a new track for your drum beat.
Step 2: Select Drum Kit
- Action: Pick a drum kit from the library panel.
- How to: Within your DAW, locate the library or instrument panel. Browse through the available drum kits and select the one that suits your style or project needs.
Step 3: Record Beat
- Action: Use a MIDI controller or musical typing.
- How to: Connect your MIDI controller to your DAW or use the musical typing feature to input the drum beats. Record the beat by playing the drum patterns on your MIDI controller or keyboard.
Step 4: Quantize Beat
- Action: Adjust timing for precision.
- How to: After recording your beat, use the quantize function to adjust the timing. This feature ensures that all the drum hits are perfectly on time, providing a more polished and professional sound.
Follow these steps to create a well-timed and precise drum beat in your digital audio workstation.
Using Apple Loops
Apple Loops provides a quick and versatile way to kickstart your beat-making process in GarageBand. They offer pre-recorded audio loops that can be easily integrated into your project, giving you a solid foundation to build upon.
To start, click on the loop browser icon in the control bar. This will open a vast library of loops categorized by instrument, genre, and mood.
Once you’ve selected a loop, drag it into the main window. You can layer multiple loops to create a richer sound, or even chop and transpose them to fit your creative vision. Apple Loops are incredibly flexible, allowing you to experiment without limits.
Here are some tips to help you maximize your use of Apple Loops:
- Explore Different Categories: Don’t stick to just one genre; mix and match to create unique sounds.
- Transpose and Stretch: Modify the pitch and length of loops to fit your project’s tempo and key.
- Use Multiple Loops: Layer different loops to add depth and complexity to your beat.
- Experiment with Chopping: Cut up loops into smaller segments for more intricate patterns.
- Search by Mood: Find loops that match the emotional tone you’re aiming for.
Using Apple Loops is a fantastic way to innovate and streamline your beat-making journey in GarageBand.
Editing and Automation
Editing and automation in GarageBand allow you to refine your beats and incorporate dynamic alterations to your music. First, initiate the editor by double-clicking on your track.
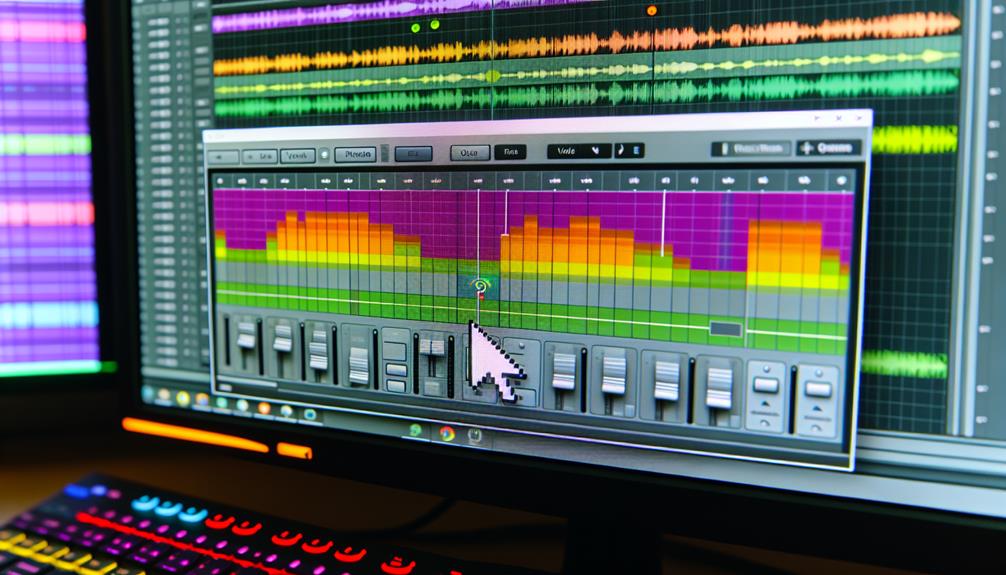
Here, you can fine-tune the timing of each drum hit by moving notes to the correct position. Utilize the quantize feature to align notes with the closest beat, ensuring your rhythm is precise.
Subsequently, access the automation panel by selecting the automation button above the track header. This functionality enables you to manage various parameters such as volume, panning, and effects gradually.
To incorporate automation, choose the parameter you wish to adjust, click on the track, and establish points along the line by clicking. Adjust these points to create seamless shifts.
You can also modify the velocity of individual hits, altering the intensity of each note. Pick a note, then adjust the velocity slider to the preferred level. This enhances the intricacy of your beats, rendering them more emotive.
Must-know Tutorials:
How to Record Vocals in GarageBand? Like a Pro in Minutes
How to Use GarageBand: Start Making Amazing Tracks Now!
How to Slow Down a Track in GarageBand?
How to Record Two Tracks at Once in Garageband? Quick Guide
Frequently Asked Questions
How Do I Export My Finished Beat From Garageband?
To export your finished beat, go to Share, select Export Song to Disk, choose your file format, and click Export. It’s that simple! Innovate by experimenting with different formats for various platforms.
Can I Use Third-party Plugins in Garageband?
Absolutely, you can use third-party plugins in GarageBand! Just download and install your preferred plugin, then access it through the Audio Units section in the library panel. Enhance your creativity and innovate your sound effortlessly.
How Do I Save My Beat as a Ringtone?
To save your beat as a ringtone, export it as an AAC file. Open the file in iTunes, then set it as a ringtone. Embrace creativity and let your unique beats ring through!
What Are the Best Headphones for Beat-Making in Garageband?
You’ll want headphones with great sound clarity and bass response. Consider models like the Audio-Technica ATH-M50x or the Beyerdynamic DT 770 Pro. They’re reliable, comfortable, and perfect for capturing every detail in your beats.
How Do I Share My Beat on Social Media Directly From Garageband?
To share your beat on social media from GarageBand, tap “Share” in the menu, select “Song to Disk,” and choose your format. Then, upload the exported file directly to your desired social media platform.
Conclusion
You’ve got all the tools you need to make amazing beats on GarageBand. Start your project, choose your drums, and decide if you’ll use drummer tracks or program your own MIDI beats.
Don’t forget to experiment with Apple Loops for added texture. Fine-tune your creation by editing timing, quantizing, and adding automation for dynamic shifts.
With a bit of practice and creativity, you’ll be crafting beats that sound professional and unique. Happy beat-making!