
You’ve decided to import a song into GarageBand, but where do you start? First, make sure your project is set up correctly by adjusting the song section length to Automatic. Next, open the project in Tracks view and tap the Loop Browser button to access the ‘Files’ tab.
From here, dragging your audio file into the Tracks view is straightforward, but don’t overlook the option to import directly from the Music app. With the song now in place, how do you go about aligning it with specific bars or beats, editing audio sections, and adding instrument layers for that polished finish?
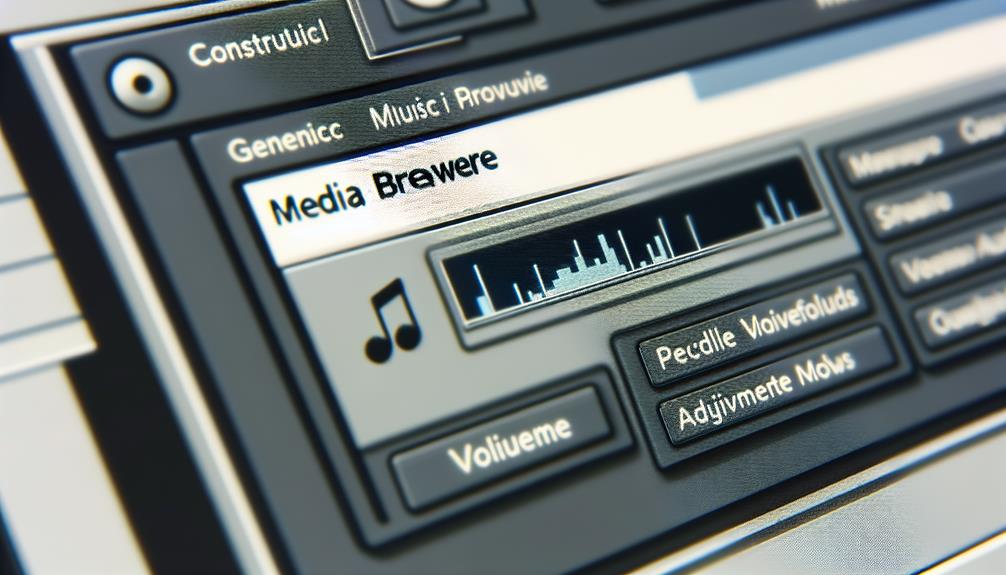
Setting Up for Import
To get started with importing a song into GarageBand, you’ll need to set the song section length to Automatic to make sure the entire track is imported. This step is important because, without it, you might only import a portion of the song, limiting your creative possibilities.
First, open your GarageBand project and make sure you’re in the Tracks view.
Next, head to the top-right corner and tap the Loop Browser button. You’ll see various options to add audio files to GarageBand.
For importing music into GarageBand, tap on the ‘Files’ tab. This will allow you to import an audio file into GarageBand from your device’s storage or cloud services.
Simply locate the audio file you wish to import and drag it into the Tracks view. By doing this, you add an audio file to GarageBand seamlessly.
Make sure the song section length is set to Automatic, ensuring the full track is available for your project. Align the start of your audio file with the desired bar or beat to maintain synchronization.
Importing From Music App
Once you’ve set the song section length to Automatic, you can seamlessly import your favorite tracks directly from the Music app into GarageBand. To get started with how to import a song into GarageBand, tap the Tracks button to see your list of tracks.
Next, access the Loop Browser button in the control bar and tap on Music. You’ll be able to search for songs by name or browse through albums, artists, genres, or playlists.
When you’ve found the song you want to import, tap on it, and it will load into GarageBand. This step is important for understanding how to add audio file to GarageBand from your Music app. If you only want a portion of the song, you can adjust accordingly, but setting the section length to Automatic ensures you get the entire track.
Remember, you can import music into GarageBand even if it’s downloaded from Apple Music, as long as it’s not copy-protected. This seamless integration lets you bring your favorite tunes into your creative projects with ease, making your music production process more innovative and intuitive.
Now that you’ve imported your track, you’re ready to start creating!
Previewing and Adjusting
After importing your song, tap it in the list to preview and make any necessary adjustments. To start, use the slider at the bottom of the list to control the preview volume. Ensuring you’re happy with the starting point and sound quality is crucial before diving into further edits.
Next, you’ll want to adjust the song section length to fit your project. Here’s how:
- Drag the Song: In Tracks view, drag the song left or right to align the edge with a specific bar or beat on the ruler. This sets your desired start point precisely.
- Extend the Length: Tap the small plus icon at the end of the song section to make it longer if needed. This will allow you to resize the imported region and make sure the full song plays.
- Fine-tune Positioning: If the timing feels off, drag the song slightly until it aligns perfectly with your project’s beats and bars.
Previewing a song and adjusting the song section length are essential steps to enhance your imported song. These tweaks make sure your track integrates seamlessly into your project, setting the stage for more detailed enhancements later on.
Enhancing Imported Songs
To enhance your imported song, start by editing the audio sections to fine-tune specific parts.
You can also add instrument layers to enrich the overall sound and give your track more depth.
With these adjustments, your song will sound more polished and professional.
Editing Audio Sections
Editing audio sections in GarageBand lets you fine-tune imported songs to create a polished, professional sound. Once you’ve finished importing audio files, it’s time to delve into the editing process. First, you can start by adjusting the tempo of the imported song to match your project’s pace. This guarantees that everything stays in sync and sounds harmonious.
Next, let’s get into editing audio files. Begin by selecting the track you want to edit. You can use the split tool to cut your audio into smaller sections, allowing for precise edits. Deleting any unwanted sections is as simple as a quick highlight and delete. You’ll also want to make sure the connections between sections are seamless.
Here are three essential editing steps:
- Trim and Cut: Use the trim tool to remove any unnecessary parts of the audio.
- Split and Delete: Split the audio at specific points and delete unwanted sections.
- Adjust Volume Levels: Balance the volume across different sections to maintain consistency.
Adding Instrument Layers
Now that you’ve fine-tuned your imported audio sections, let’s enrich your track by adding instrument layers. Start by opening the Tracks view and selecting the instrument you want to add. Whether you’re importing audio files or using GarageBand’s built-in sounds, layering instruments can transform your song.
First, make sure the tempo of your imported audio files matches your project. Adjusting tempo is essential for keeping everything in sync. Navigate to the tempo settings, and tweak it until your imported file aligns perfectly with the beat.
Next, enhance your tracks by adding different instruments. Tap the plus icon to create a new track, then choose an instrument. You can add drums, bass, keyboards, or even virtual strings. Experiment with different sounds to see what complements your imported audio best.
Don’t forget to use GarageBand’s editing tools to fine-tune each layer. Adjust volume levels, pan settings, and effects to achieve the desired sound. By carefully layering and mixing these elements, you can create a rich, full-bodied track.
Using Apple Footer
To make the most of GarageBand, use the Apple Footer for valuable resources.

You can access support, find the user guide, and review important privacy policies right from the footer.
These tools will help you navigate any issues and guarantee you’re using GarageBand effectively and responsibly.
Accessing Support Resources
In the Apple Footer, you’ll find a wealth of support resources to help you master GarageBand. When you’re importing audio files into GarageBand or adjusting tempo for imported files, these resources become invaluable. Exploring these can seem challenging, but let’s simplify the process for you.
- Support Page: Visit the Apple Support page directly from the footer. Here, you can search for specific guides on importing audio files into GarageBand and adjusting tempo for imported files. It’s a treasure trove of detailed articles and troubleshooting tips.
- User Guide: The GarageBand User Guide for iPhone is another excellent resource. Accessible through the footer, it provides step-by-step instructions on various features, including importing files and tempo adjustments. This guide is particularly useful for both beginners and advanced users.
- Community Forums: Apple’s Community Forums are also linked in the footer. Engaging with other GarageBand users can provide real-world solutions and creative ideas. You can ask questions, share your experiences, and learn from the collective knowledge of the community.
User Guide Navigation
You’ll find exploring the User Guide through the Apple Footer straightforward and immensely helpful for mastering GarageBand. To access it, scroll to the bottom of the Apple website and click on the ‘User Guide’ link. This resource is packed with detailed instructions on importing a song, adjusting tempo, and editing audio files.
Navigating the User Guide empowers you to:
| Feature | Benefit | Emotion Evoked |
|---|---|---|
| Importing a song | Seamlessly add your favorite tracks | Creativity set free |
| Adjusting tempo | Sync songs with your projects effortlessly | Precision achieved |
| Editing audio files | Tailor your music to perfection | Mastery in your hands |
Start by understanding how to import a song from your music library. The guide will show you step-by-step instructions, ensuring you don’t miss any detail.
Next, immerse yourself in adjusting tempo, where you’ll learn to match the speed of the imported song to your project, ensuring everything flows seamlessly. Finally, explore the editing audio files section to cut, trim, and enhance your tracks like a pro.
Privacy Policy Overview
Accessing Apple’s Privacy Policy through the footer guarantees you stay informed about how your data is protected while using GarageBand. It’s essential to understand privacy when importing audio files, adjusting tempo, or editing audio files in your projects.
Apple places a high priority on user data security, and its privacy policy outlines how it collects, use, and safeguard your information.
To access the Privacy Policy, simply scroll to the bottom of the Apple website and find the footer section. Here’s what you need to know:
- Data Collection: Apple details what information is collected when you use GarageBand, such as usage data and device information. This helps improve the app’s functionality and user experience.
- Data Usage: The policy explains how Apple uses your data, including for enhancing features like tempo adjustment and audio editing. Your data can also help Apple develop new tools and improve app performance.
- Data Security: Apple outlines the security measures in place to protect your personal information. This includes encryption and other safeguards to ensure your data remains secure while you’re importing audio files or tweaking your music projects.
Importing Audio Files
To import audio files into GarageBand, simply open your project and drag the desired file from Finder directly into the session. This method works seamlessly with formats like mp3, WAV, and MIDI.
Once the file is in your session, you can adjust the tempo to make sure it syncs perfectly with the rest of your project. Matching the tempo is essential for maintaining a consistent rhythm and making your audio blend seamlessly.
After importing, you’ll find that editing audio files in GarageBand is intuitive. Use shortcuts like Command T to cut and trim your audio. You can split the audio at the play head for precise edits and delete any unwanted sections effortlessly. This way, you’re in control of every beat and note.
GarageBand also offers a plethora of editing tools to enhance your imported audio. You can layer new tracks, create loops, and experiment with different effects to innovate your sound. The editing options are extensive, allowing you to transform raw audio into a polished piece.
Embrace the creative freedom and let your musical ideas flourish with GarageBand’s powerful features.
Adjusting Project Length
After importing and editing your audio files, it’s important to adjust the project length to accommodate your full track. This guarantees that your entire song plays seamlessly without cutting off prematurely. To do this, you’ll need to tweak a few settings in Garageband.

- Adjusting Project Length: Start by tapping the small plus icon (+) at the top right corner of the screen. This lets you extend the default 8-bar project length. Adjust the number of bars to match the length of your imported audio, making sure it fits within the project’s timeline.
- Tempo Adjustment: If your imported file has a different tempo, syncing it with your project is essential. Tap the tempo display at the top of the screen and enter the desired tempo. This keeps your track consistent and in rhythm, making editing audio files smoother.
- Editing Audio Files: Once the project length and tempo are set, you can start fine-tuning your track. Use the split, trim, and loop features to customize each section of your song. This gives you full control over the playback duration and structure, enhancing the overall quality of your project.
Some more essential tutorials you must know:
How to Change Pitch in GarageBand?
How to Fade a Track in GarageBand?
How to Record Vocals in GarageBand? Like a Pro in Minutes
How to Slow Down a Track in GarageBand?
Frequently Asked Questions
How Do I Resolve Issues With Song Not Importing Correctly?
Confirm that the song isn’t copy-protected and the format is compatible. Verify the project length and section settings. Adjust the tempo to match the song. If issues persist, consult Apple’s support or the GarageBand User Guide.
Can I Import Songs Directly From Streaming Services Like Spotify?
You can’t import songs directly from streaming services like Spotify into GarageBand due to copyright restrictions. Instead, download the tracks legally and make sure they’re not copy-protected. Then, import them into GarageBand for your project.
What Audio File Formats Are Compatible With Garageband?
You can import MP3, WAV, and MIDI files into GarageBand. Just drag and drop these formats into your project. Make sure your file’s format matches one of these for a seamless integration into your music creation.
How Can I Achieve Better Audio Quality for Imported Songs?
To achieve better audio quality for imported songs, make sure your source files are high-resolution. Use GarageBand’s editing tools to enhance clarity and adjust EQ settings. Experiment with compression and reverb for a polished, professional sound.
Is It Possible to Import Songs Without Losing Metadata?
Yes, you can import songs without losing metadata by using supported file formats like MP3 or AIFF. Make sure your files aren’t DRM-protected. This way, you retain essential metadata like artist, album, and track information.
Conclusion
You’ve got everything you need to import a song into GarageBand! Start by setting up your project and adjusting the song section length to Automatic.
Use the Loop Browser to bring in your audio file or a track from the Music app. Once imported, you can preview, adjust, and enhance the song.
Align it with specific bars or beats, add instruments, adjust tempo, and balance volume. By following these steps, you’ll create polished and professional-sounding tracks.