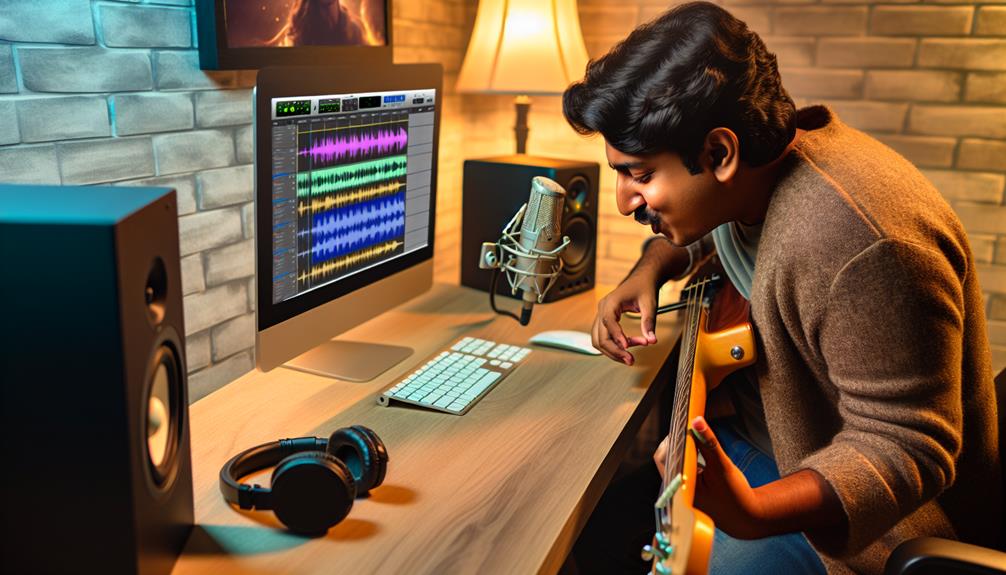
When you’re ready to record guitar in GarageBand, your first step is to connect your instrument to your device using a quarter-inch jack to USB cable or a portable interface. Once connected, open GarageBand and set up a new project specifically for guitar recording.
It’s important to select the right input device and create a customized guitar track with the appropriate presets and amp models.
Adjusting the input levels and enabling input monitoring will guarantee a clean recording setup. But there’s more to achieving a professional sound, including specific recording techniques and post-production steps that can elevate your tracks.
Connecting Your Guitar
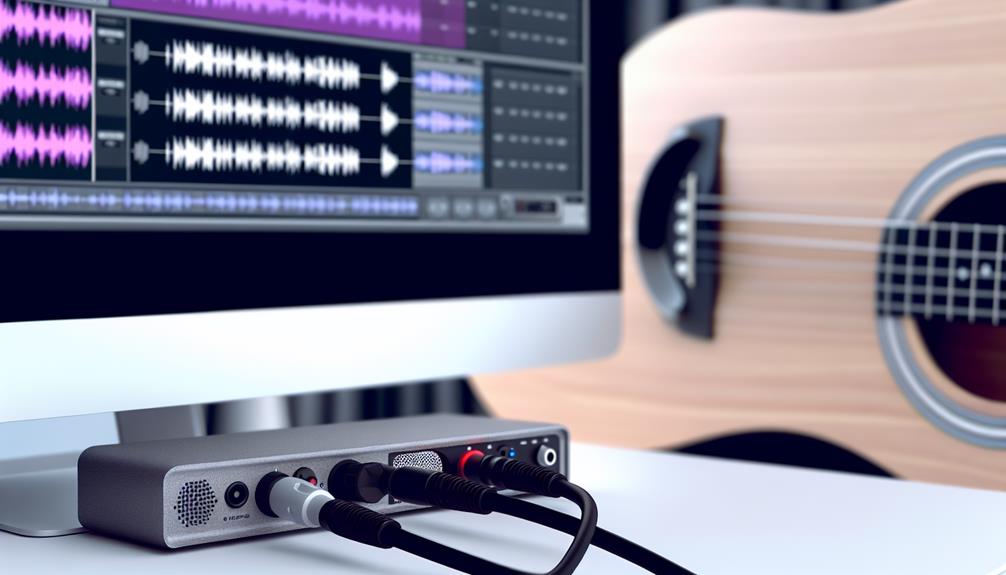
To connect your guitar to GarageBand, start by using a quarter-inch jack to USB cable or a small portable interface. Plug one end into your guitar and the other into your Mac, iPad, or iPhone.
If you’re wondering how to connect guitar to iPad, a portable interface is your best bet. These interfaces are compact, budget-friendly, and offer excellent sound quality.
For iPhone users, learning how to record guitar on iPhone is pretty straightforward. Just connect your small portable interface to your iPhone using the appropriate cable. Once connected, GarageBand should automatically recognize your guitar as an input source. This seamless integration means you won’t waste time on complicated setups.
Whether you’re using a Mac, iPad, or iPhone, the key is ensuring you’ve got a good quality cable or interface. Cheaper options might introduce latency or strange noises, so investing in quality gear is essential.
If your device doesn’t recognize the connection, double-check the compatibility with your version of GarageBand.
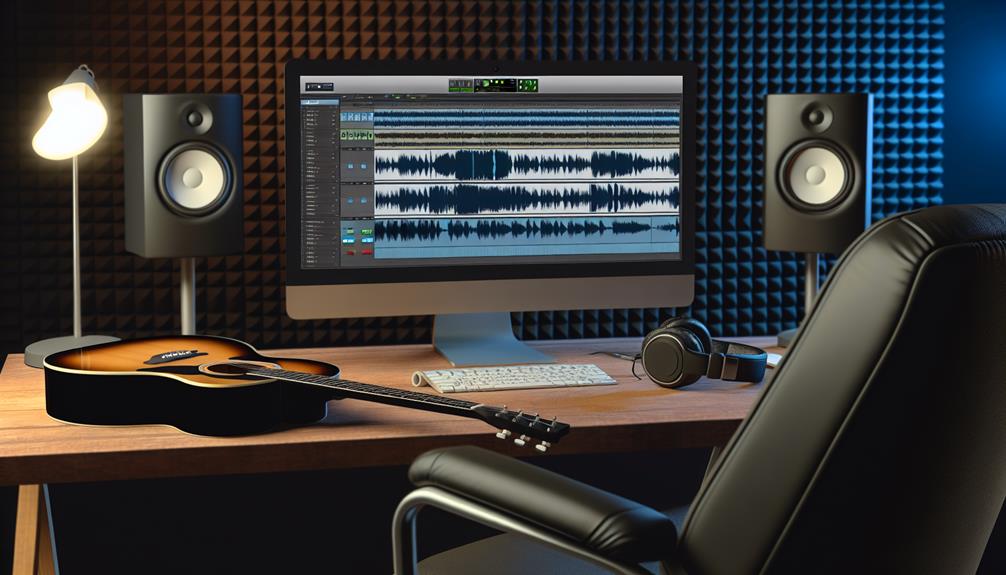
Setting Up GarageBand
Begin setting up GarageBand by launching the app and creating a new project tailored for guitar recording. You’ll be greeted with a variety of project templates; select the one that suits guitar recording, such as ‘Guitar’ or ‘Empty Project.’ This setup is important for understanding how to record guitar in GarageBand efficiently.
Next, connect your guitar to your Mac using a quarter-inch jack to USB cable or an audio interface. Make sure GarageBand recognizes the input. You can check this by going to ‘Preferences’ and selecting the ‘Audio/MIDI’ tab. Here, set your input device to the connected guitar.
Now, add a new track by clicking the ‘+’ button and choosing ‘Guitar’ from the available options. This step is essential for knowing how to record guitar on GarageBand correctly. You’ll see a range of presets and amp models that can be customized to your liking.
Before recording, adjust the input levels to avoid clipping. Use the input monitoring feature to hear your guitar through the headphones. This allows you to tweak the sound before hitting the record button, ensuring a clean and professional outcome.
Now, you’re ready to delve into the recording phase!
Recording Techniques
Recording techniques play a pivotal role in capturing the best sound quality from your guitar in GarageBand. To begin, always use fresh guitar strings; they’ll give you a brighter and clearer sound.
When learning how to record a guitar on GarageBand, start by directly connecting your guitar to a Focusrite audio interface via a Jack lead for the best sound quality.
During the recording process, use headphones for accurate monitoring. This helps you hear nuances and make sure there’s no unwanted noise. Adjust your input settings specifically if you’re recording an acoustic guitar—this fine-tuning can make a significant difference. Monitor signal levels closely to avoid clipping; you don’t want your recording to distort.
Managing gain levels is key, especially if your playing style varies from soft fingerpicking to aggressive strumming. Using a metronome or click track can keep your timing precise, making your recordings sound professional.
If you’re adventurous, try recording direct and microphone sources simultaneously. This technique, known as multi-tracking, lets you explore stereo fields and sound separation.
Utilizing GarageBand’s built-in tools and effects can further enhance your recordings, helping you innovate and craft your unique sound.
Using Microphones and Pickups
When capturing guitar sounds in GarageBand, you’ll need to choose between using a microphone or a pickup system.
Both methods have their advantages, and your choice depends on the sound you’re aiming for. A microphone captures the natural tones and nuances of your guitar, while a pickup system offers a more direct and reliable signal.
| Aspect | Microphone | Pickup System |
|---|---|---|
| Sound Quality | Natural and full | Direct and clear |
| Setup Complexity | Requires additional equipment | Simple plug-and-play |
| Ideal Use | Studio recordings | Live performances |
| Portability | Less portable | Highly portable |
| Cost | Can be expensive | Generally affordable |
To record with a microphone, place it near the guitar’s sound hole and connect it to your Mac via an audio interface. Use headphones to monitor the sound. For a pickup system, plug the guitar directly into the interface or your Mac. GarageBand will automatically recognize the input.
Post-Recording Steps
After immersing yourself in your guitar performance, you’ll want to review the recording for quality and clarity to confirm it meets your expectations.
Begin by listening carefully to the entire track, identifying any parts where the sound might be unclear or where unwanted noise might’ve crept in. This is an essential step in the post-recording process.
Next, get into editing your recorded tracks. Use GarageBand’s editing tools to trim any unnecessary parts at the beginning or end of your recording.
If there are any mistakes or rough patches, don’t hesitate to cut them out or use the software’s flexibility to splice in better takes. Pay attention to timing and rhythm, ensuring everything aligns perfectly.
Adjust the volume levels of your tracks to achieve a balanced mix. Use panning to create spatial effects and enhance stereo imaging. Add effects like reverb, delay, or EQ to give your guitar track that polished, professional sound.
Don’t forget to save your work frequently to avoid losing any chances.
Must-know tutorials:
How to Cut Music on GarageBand?
How to Import a Song Into Garageband?
How to Change Pitch in GarageBand?
How to Fade a Track in GarageBand?
Frequently Asked Questions
How Can I Reduce Latency When Recording Guitar in Garageband?
To minimize latency when recording guitar in GarageBand, lower the buffer size in preferences, use a high-quality audio interface, and make sure your Mac’s performance is optimized. This creates a smoother and more responsive recording experience.
What Is the Best Way to Prevent Clipping During Recording?
To prevent clipping during recording, monitor your input levels closely and adjust the gain accordingly. Use a limiter to cap peaks and make sure your levels stay within a safe range. Don’t forget to test before recording.
How Do I Apply Effects to My Guitar Track in Garageband?
To apply effects to your guitar track in GarageBand, select the track, open the Smart Controls, and choose your desired effects from Amp Designer or Pedalboard. Experiment with settings for innovative, customized soundscapes.
Can I Use Third-Party Plugins With Garageband for Guitar Recording?
Yes, you can use third-party plugins with GarageBand for guitar recording. Just download the plugins you want, and install them on your Mac, and GarageBand will recognize them, letting you innovate and customize your sound.
How Do I Export My Recorded Guitar Track in Garageband?
To export your recorded guitar track in GarageBand, click “Share” in the menu, select “Export Song to Disk,” choose your preferred format, and click “Export.” It’s quick and lets you innovate with high-quality audio files.
Conclusion
Now that you know how to record your guitar in GarageBand, you’re ready to create some amazing music. Just remember to connect your guitar properly, set up your project, and use good recording techniques.
Experiment with different sounds and effects to find what you like best. After recording, take the time to review and edit your tracks for a professional sound.
With practice, you’ll get better and more confident, making your guitar recordings truly shine.