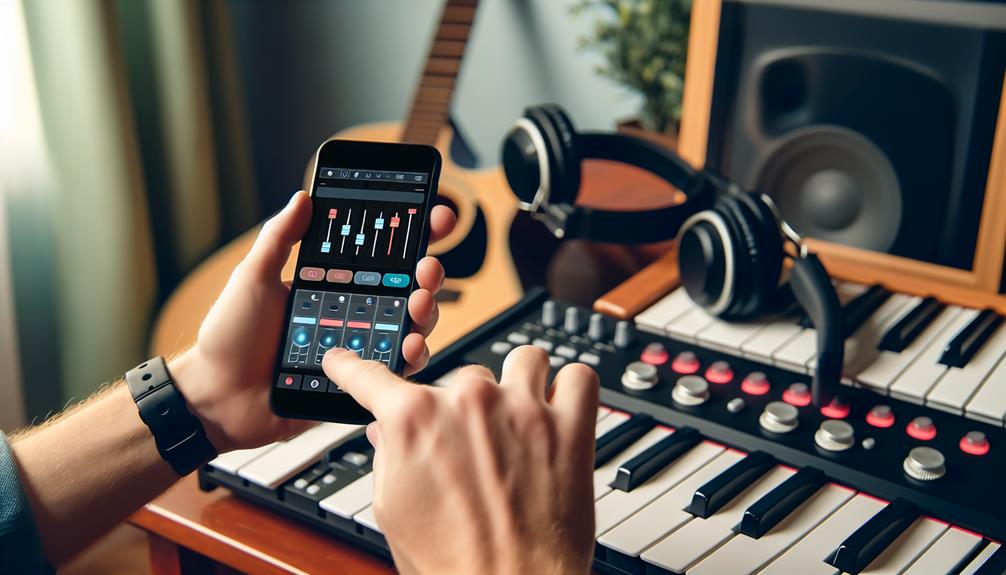
When you’re prepared to unleash the full potential of GarageBand on your iPhone, the first step is downloading the app from the App Store and opening it to create a new project. You’ll find an array of features like Tracks, Live Loops, and a detailed Sound Library.
Adjust your song’s tempo, key, and time signature, then delve into experimenting with Touch Instruments such as keyboards, drums, and guitars. Curious about how to record and edit audio tracks or enhance them with EQ adjustments and effects? There’s more to explore in optimizing your creative process.
Setting Up GarageBand
Before delving into music creation, you’ll need to set up GarageBand properly on your iPhone. Start by downloading the GarageBand app from the App Store if you haven’t already. Once installed, open the app and you’ll see a welcome screen. Tap ‘Create New Song’ to begin.
Familiarize yourself with the main interface. You’ll find different sections like Tracks, Live Loops, and the Sound Library. To get a feel for how to use GarageBand for iPhone, start by exploring the Tracks view. Here, you can add and edit various instruments and recordings.
Next, optimize your settings. Tap the gear icon in the top right corner to access settings like tempo, key, and time signature. Adjust these to match the style of music you want to create. Don’t forget to enable the metronome for keeping time.
To learn how to effectively utilize GarageBand on iPhone, spend time exploring its features. Experiment with different sounds and settings. By doing so, you’ll gain a solid understanding of how to use GarageBand in iPhone for your innovative music projects.
Exploring Touch Instruments
Now that you’re familiar with setting up GarageBand, let’s explore the Touch Instruments available on your iPhone. These virtual instruments let you play and create music directly on your device, making it a breeze to compose anywhere.
GarageBand offers a range of Touch Instruments, each with its own unique features. Here’s a quick guide to get you started:
| Instrument | Features |
|---|---|
| Keyboard | Octave adjustment, scale selection, arpeggiator |
| Drums | Smart Drums, Beat Sequencer, acoustic kits |
| Guitar | Acoustic, electric, bass, chordal, or solo modes |
| Strings | Violin, viola, cello, bass, bowing, and plucking |
To use the keyboard, tap the instrument icon and select “Keyboard”. Adjust the octave, choose a scale, and enable the arpeggiator for dynamic play. For drums, try the Smart Drums by dragging elements into the grid or use the Beat Sequencer to build patterns.
With the guitar, you can switch between acoustic, electric, and bass options, playing chords or solo notes. The strings section lets you play using bowing or plucking techniques for a realistic feel.
Experiment with these Touch Instruments to discover how do you use GarageBand on iPhone to its fullest potential.
Recording and Editing Audio
Wondering how to capture your musical ideas? With GarageBand on your iPhone, recording and editing audio is a breeze.
Start by opening the app and selecting an empty project. Tap the red record button to begin capturing audio using your device’s microphone. Play your instrument or sing into the mic, and GarageBand will record it all.
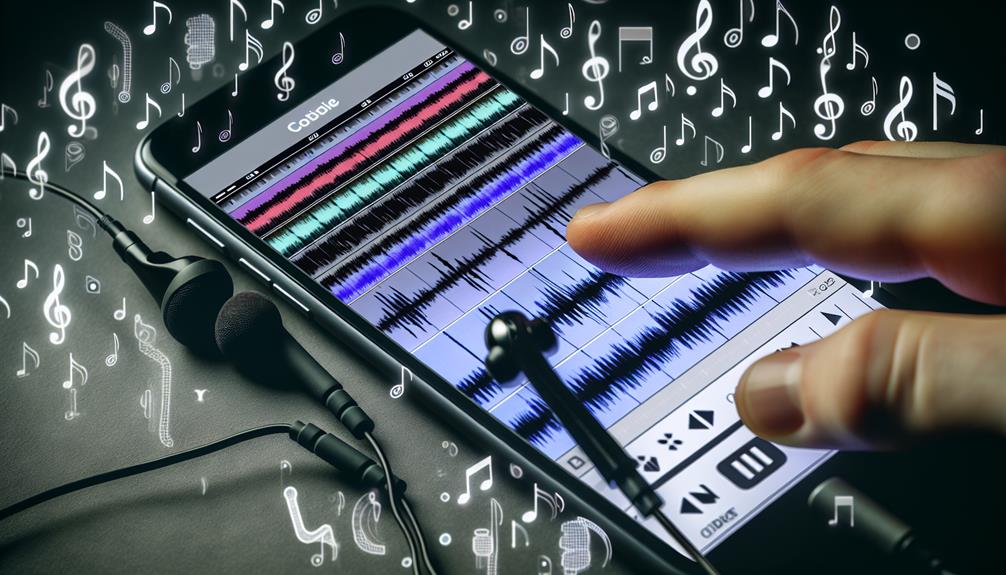
Once you’ve got your track, it’s time to edit. Tap on the recorded audio track to reveal options like cut, copy, and delete. Use the scissors tool to split sections and arrange them as you like. Pinch your fingers to zoom in and out for precise edits. Adjust the volume and add effects by tapping the mixer icon.
For a polished sound, explore the Audio Unit Extensions & Inter-App Audio for additional effects and instruments. Enhance your track with EQ adjustments, reverb, and delay to give it a professional touch.
If you make a mistake, don’t worry—GarageBand’s undo button has you covered.
Remember to save your project frequently. GarageBand’s user-friendly interface makes it easy to produce high-quality audio, turning your innovative ideas into reality.
Using Drums and Drummer
When editing your audio, you might want to explore adding some rhythm using GarageBand’s versatile drums and Drummer feature. Start by selecting the drum icon from the Instruments menu. You can choose between Smart Drums, Beat Sequencer, or Acoustic Drums.
For a dynamic touch, try the Drummer feature. It automatically creates beats that match your track’s style, making your music production seamless.
With Smart Drums, drag and drop elements to create your custom beat. The Beat Sequencer lets you build intricate drum patterns by tapping on grid cells. Acoustic Drums offer a more hands-on approach, allowing you to play a virtual drum kit in real-time.
To use the Drummer, select a drummer profile that fits your genre. Adjust the complexity and intensity using the simple controls. The Drummer feature adapts to your track, providing a professional-sounding rhythm section without much hassle.
Experiment with different drum styles and settings to see what works best for your project. By leveraging these tools, you can transform your audio into a vibrant, rhythmically engaging piece.
Explore and let GarageBand’s drums and Drummer feature elevate your music.
Importing and Exporting Tracks
To bring external sounds into your GarageBand project, you can easily import tracks from Apple Music, iTunes, or your files. This feature is perfect for adding depth and variety to your music.
Here’s a quick guide to get you started:
- Import Tracks: Open GarageBand, tap the “Loops” icon, and then the “Files” tab. From here, you can browse and import tracks from different locations like Apple Music or iTunes.
- Use Apple Loops: Tap the “Loops” icon, select “Apple Loops,” and explore a wide range of royalty-free loops to enhance your project.
- Export Your Tracks: After perfecting your track, tap “My Songs” to save your project. Then, tap and hold your song, select “Share,” and choose how you want to export it—either as an audio file, ringtone, or even a full GarageBand project.
- Organize Your Tracks: Change track icons to keep your session organized. Simply tap the track header, select “Settings,” and choose an icon that fits.
Some more tutorials, that you must know:
How to Record Guitar in GarageBand?
How to Cut Music on GarageBand?
How to Import a Song Into Garageband?
How Do You Make Beats on Garageband: Easy Steps to Master
Frequently Asked Questions
How Do You Extend the Project Length Beyond 8 Bars?
To extend the project length beyond 8 bars, tap the plus sign to manually add more bars or enable automatic recording in settings. This allows for greater creative freedom and a more dynamic musical composition.
Can You Customize the Metronome Settings in Garageband?
You can customize the metronome settings in GarageBand. Just tap the metronome icon, and adjust the tempo, time signature, and sound. Innovate your tracks by keeping everything perfectly in sync with your creative vision.
How Do You Zoom in and Out on a Track?
To zoom in and out on a track, use two fingers. Pinch them together to zoom out and spread them apart to zoom in. This gesture lets you edit with precision and enhance your creative workflow.
What Options Are Available for Editing Individual Tracks?
When editing individual tracks, tap the track to access options like cut, copy, delete, loop, split, and rename. Use the scissors tool for precise cuts. These tools give you full control to innovate your music.
How Can You Set the BPM for a Project?
To set the BPM for a project, tap the settings icon, select “Tempo,” and adjust it. This helps you maintain rhythm and innovate your tracks. Don’t forget to turn off the metronome before exporting.
Conclusion
Now that you have a good grasp of using GarageBand on your iPhone, you’re prepared to begin creating your own music.
Explore the Touch Instruments, record and edit your tracks, and experiment with the Drummer feature for unique beats.
Remember to import and export your projects to share your creations.
With practice and exploration, you’ll be making music like a pro in no time.
Enjoy and let your creativity flow!