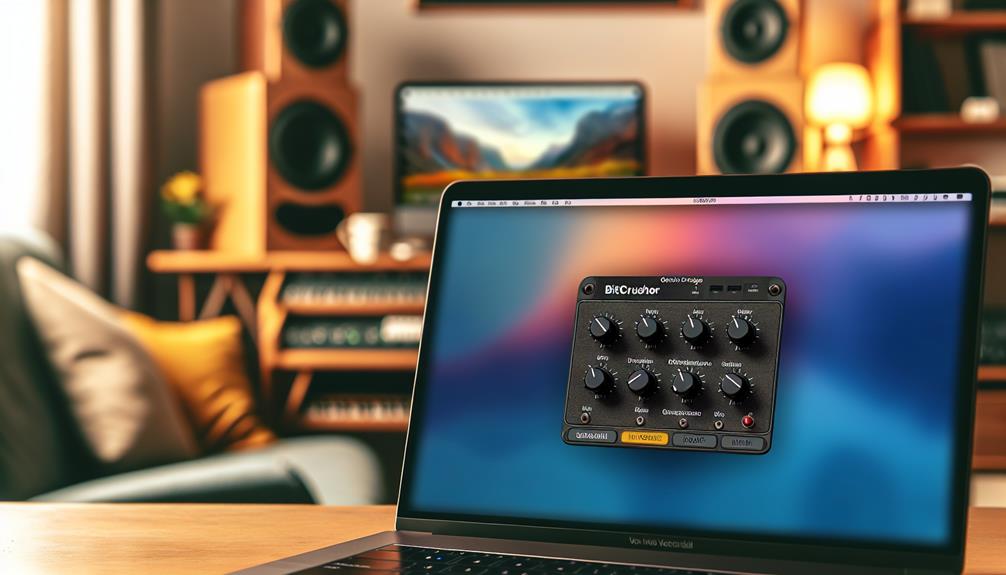
To give your audio that retro, gritty feel in GarageBand, you’ll need to master the Bitcrusher plugin. Start by selecting your track and accessing the mixer icon. From there, add the Bitcrusher plugin, which you can find among the free stock options.
Adjusting the bit depth and sample rate is essential; lowering the bit depth introduces distortion, and tweaking the sample rate changes the texture.
But how do you balance these adjustments to maintain audio quality? Understanding this balance can make or break your track’s final sound, so let’s explore how you can get it just right.
Accessing the Bitcrusher Plugin
To access GarageBand’s Bitcrusher plugin, start by selecting the track you want to modify. Once you’ve picked your track, tap the mixer icon at the top-left corner of your screen. This opens up the track’s settings.
Next, tap on ‘Plugins & EQ‘ to see the list of effects currently applied to your track. You’ll notice an ‘Edit’ button at the bottom of this list. Tap it to open more options.
From here, you can add a new plugin by tapping on an empty slot and selecting ‘Bitcrusher’ from the list of available effects. The Bitcrusher is one of the ten free stock plugins in GarageBand for iPhone and iPad, so you don’t need any extra purchases.
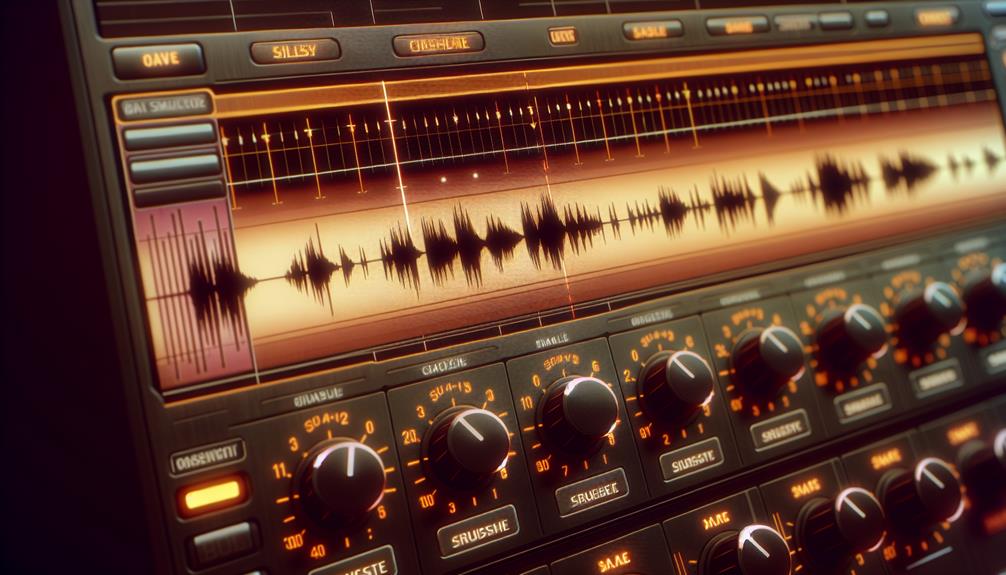
After adding the Bitcrusher, you’ll see its controls, allowing you to tweak your sound. The interface is simple, featuring sliders for resolution and downsampling. These controls let you create those nostalgic 8-bit, low-fi, chip-tune sounds.
Experiment with these settings to find the perfect balance that suits your innovative music projects. With just a few taps, you can transform any track into a unique, vintage masterpiece.
Adjusting Bit Depth
Adjusting the bit depth in GarageBand’s Bitcrusher plugin lets you control the clarity and character of your audio track. To start, select the track you want to modify and open the mixer icon. From there, go to the plugins and EQ section and find the Bitcrusher plugin.
When you adjust the bit depth, you’re changing how many bits are used to represent each sample of audio. GarageBand supports up to 24-bit audio, which gives you a crisp and clean sound.
If you change it to 16-bit, you mightn’t notice much difference. However, dropping to 8-bit gives you that classic, old-school video game sound. Lowering it even further to 4-bit will make your audio sound much grittier and less clear, perfect for a retro effect.
Bit-depth adjustments can drastically change how your track feels. Use higher bit depths for clarity and lower ones for a vintage feel.
Experimenting with these settings can help you find just the right texture for your project. Remember, the key is to balance innovation with the desired quality to create a unique and compelling sound.
Modifying Sample Rate
Modifying the sample rate in GarageBand’s Bitcrusher plugin lets you drastically alter the texture and character of your audio track. Start by opening your project and selecting the track you want to modify.

Tap on the mixer icon, then go to the ‘Plugins and EQ’ section. Here, you’ll find the Bitcrusher plugin. Tap on it to open its settings.
Within the Bitcrusher interface, you’ll see a control labeled ‘Down Sampling.’ This is where you can adjust the sample rate. By lowering the sample rate, you reduce the number of samples per second, which can give your track a gritty, vintage sound.
For instance, if the default rate is 44.1 kHz, reducing it to 22.05 kHz will halve the sample rate, creating a noticeable change in your audio’s texture.
Experiment with different sample rates to find the one that best suits your creative vision. You might find that a lower sample rate pairs well with an 8-bit resolution to achieve that old-school, chip-tune vibe.
Applying Effects to Tracks
To apply the Bitcrusher effect to your tracks in GarageBand, start by selecting the track you want to enhance and tapping the mixer icon.
Next, open the ‘Plugins and EQ’ section, and click ‘Edit’ to add the Bitcrusher plugin.
Once it’s added, you can adjust the resolution control and modify the down sampling to achieve your desired sound.
Accessing Bitcrusher Plugin
Accessing the Bitcrusher plugin in GarageBand is a straightforward process that lets you easily apply retro effects to your tracks. Start by opening your GarageBand project and selecting the track you want to modify. Tap the mixer icon, which looks like a series of sliders, to open the track’s settings.
Next, find the ‘Plugins & EQ‘ section and tap on it to view the available plugins. In the ‘Plugins & EQ’ section, you’ll see a list of active effects. Tap the ‘Edit’ button at the top right corner to add a new effect. This will bring up a menu where you can insert a new plugin.
Scroll through the list until you find the ‘Bitcrusher’ option and select it. Once the Bitcrusher plugin is added, you can start tweaking its settings to achieve the desired retro sound. You’ll notice controls that allow you to adjust the bit depth and sample rate, but we’ll cover those in more detail later.
For now, simply activating the Bitcrusher plugin will give your track that distinctive lo-fi, 8-bit vibe. Experiment with different settings to see how they change your audio and enjoy adding a unique vintage touch to your music!
Adjusting Resolution Control
Now that you’ve activated the Bitcrusher plugin, let’s adjust the resolution control to fine-tune the bit depth and achieve your desired retro effect. This step is essential for giving your audio that vintage, low-fi charm.
First, select the track where you’ve added the Bitcrusher plugin. You’ll see a control labeled ‘Resolution.’ This is where the magic happens.
Start by lowering the bit depth from the default 24-bit. Move it down to 16-bit to notice a subtle change. If you’re aiming for a more pronounced, old-school sound, drop it to 8-bit. This adjustment will add a gritty texture, reminiscent of early video game music.
For an even more dramatic effect, set the resolution to 4-bit. This will give your track a raw, almost distorted quality, perfect for creating an innovative, nostalgic vibe.
Modifying Down Sampling
Ready to dive deeper into the retro soundscape? Modifying downsampling in GarageBand is your next step to achieving that nostalgic, lo-fi vibe. You’ll be adjusting the sample rate, which can drastically alter your track’s character.
Start by selecting the track you want to modify. Tap the mixer icon, then navigate to the “Plugins and EQ” section. Here, you’ll find the Bitcrusher effect. Tap “Edit” and add it if it’s not already there.
Once you’ve got the Bitcrusher loaded, locate the down sampling control. The default sample rate in GarageBand is 44.1 kHz, but you can lower this to change the sound. For example, reducing the sample rate to 22.05 kHz or even 11.025 kHz can give your track a grittier, more vintage feel.
Experiment with different rates to find the sweet spot for your sound. Combining down sampling with an 8-bit resolution can create that signature 80s 8-bit sound.
Creating Vintage Sounds
To create vintage sounds in GarageBand, start by adjusting the bit depth to lower values like 8-bit or even 4-bit. This gives your audio that old-school, less refined quality.
Next, modify the sample rate to further enhance the retro vibe, perhaps lowering it from the default 44.1 kHz.
Combining these effects creatively can transform your tracks, making them sound like they came straight from the 80s.
Adjusting Bit Depth
Frequently, adjusting the bit depth in GarageBand can reveal your audio tracks to the nostalgic era of vintage 8-bit sounds. To start, open your project and select the track you want to modify. Tap the mixer icon, then choose “Plugins & EQ.” Here, you’ll find the Bitcrusher plugin. Tap “Edit,” and add the Bitcrusher if it’s not already there.
Now, focus on the “Resolution” control. This is where you adjust the bit depth. GarageBand supports up to 24-bit audio, but altering it to 8-bit or even 4-bit will give you that classic, retro vibe. Slide the resolution down to 8-bit, and you’ll notice a distinct drop in clarity, adding a grainy, old-school texture to your track.
For an even more pronounced effect, take it down to 4-bit. This will introduce a grittier, more pixelated sound, reminiscent of early video game music. Be careful, though—lowering the bit depth too much can cause excessive distortion.
Experiment with different settings to find the perfect balance between vintage charm and audio quality. By adjusting the bit depth, you’ll reveal new creative possibilities, giving your music a unique, innovative edge.
Modifying Sample Rate
After adjusting the bit depth, you can further shape your track’s vintage feel by modifying the sample rate. In GarageBand, this is done through the Down Sampling control. The default sample rate is 44.1 kHz, but lowering it can greatly alter the sound of your track, giving it a more nostalgic and old-school vibe.
To modify the sample rate, start by selecting your track and tapping the mixer icon. Next, go to ‘Plugins and EQ’ and hit ‘Edit.’ Here, you can add the Bitcrusher effect.
Within the Bitcrusher settings, you’ll find the Down Sampling control. Reducing the sample rate to around 22 kHz halves the resolution, creating a more gritty and lo-fi sound. For even more retro vibes, you can drop it further to 11 kHz or below, but be cautious as this can introduce noticeable distortion.
This technique works wonders on synths, drum loops, and even vocal tracks, giving them a unique texture reminiscent of early digital recordings. By carefully adjusting the sample rate, you can achieve a perfect balance, enriching your track with a vintage character while maintaining clarity.
Experiment with different settings to find the sweet spot that suits your creative vision.
Combining Effects Creatively
Combining the Bitcrusher with other effects in GarageBand can transform your tracks into rich, vintage soundscapes. Start by adding a Bitcrusher to your track to introduce that classic 8-bit vibe.
Next, layer a Reverb effect to create a spacious, old-school atmosphere. Adjust the reverb settings to be subtle yet noticeable, enhancing the nostalgic feel without overwhelming the bit-crushed sound.
To add even more character, try using the Tape Delay effect. This will introduce a slight echo, reminiscent of vintage tape machines. Adjust the delay time and feedback to find the sweet spot where the echoes complement the bit-crushed sound.
Another excellent combination is the Bitcrusher with the EQ effect. Use the EQ to cut some high frequencies and boost the mids, mimicking the frequency response of older recording equipment. This helps in creating a more authentic vintage tone.
Managing Audio Quality
To manage audio quality effectively when using the Bitcrusher in GarageBand, you need to carefully balance resolution and downsampling controls to avoid excessive distortion. Striking the right balance helps you achieve that classic 8-bit sound without sacrificing too much clarity.
Start by adjusting the resolution control, which changes the bit depth of your audio. This can drastically alter your sound, making it grittier and more textured.
Next, play with the downsampling control to modify the sample rate. Lowering the sample rate can give your track an even more vintage feel.
However, monitoring these changes is crucial to ensure your audio doesn’t become too harsh or unrecognizable. The goal is to create an interesting sound without compromising the overall quality.
Here are some tips to keep in mind:
- Start small: Make minor adjustments first to avoid overwhelming your track with distortion.
- Listen closely: Always use headphones to catch subtle changes and guarantee the best quality.
- Experiment: Try different combinations of resolution and downsampling to find the perfect mix for your project.
Troubleshooting Common Issues
Balancing audio quality is key, but sometimes you’ll encounter issues that need troubleshooting when using the Bitcrusher in GarageBand.
One common problem is excessive distortion. If your audio sounds too harsh, try adjusting the resolution and down-sampling controls. Lowering the bit depth too much can cause unwanted noise. Start by increasing the bit depth slightly and listen for improvements.
Another issue might be a loss of clarity in your track. If your audio becomes muffled, you’re likely overdoing the downsampling. Gradually increase the sample rate until you find a good balance between the old-school vibe and clear sound. Remember, GarageBand’s default sample rate is 44.1 kHz, so use this as a reference point.
Sometimes, you might notice your entire mix sounding off. This can happen if the Bitcrusher effect is applied too broadly. Try isolating the effect to specific tracks instead of the whole mix. This way, you can add character where needed without compromising overall quality.
Lastly, make sure your volume levels are balanced. Bitcrushing can impact audio levels, so adjust the track volume accordingly to avoid clipping.
Must-know tutorials:
How to Use GarageBand for Podcast: Beginners Start Here
How to EQ Vocals in GarageBand: Master Studio Quality!
How to Make a Ringtone in GarageBand: Master It Today
How to Use GarageBand on iPhone: Create Music Anywhere
Frequently Asked Questions
Can I Save Custom Bitcrusher Presets in Garageband?
Yes, you can save custom bitcrusher presets in GarageBand. Just tweak your settings, click the preset menu, and choose “Save” or “Save As.” It’s a great way to keep your innovative sounds at your fingertips.
Does Bitcrusher Affect CPU Usage on Ios Devices?
Yes, bitcrusher can affect CPU usage on iOS devices. You might notice increased CPU load, especially with complex projects. However, it’s generally manageable and worth it for the unique, innovative sounds you can create.
Are There Any Recommended Settings for Specific Genres?
For chip-tune or retro genres, try setting the bit depth to 8-bit and lowering the sample rate to around 22 kHz. You’ll achieve that vintage, gritty sound perfect for innovative, nostalgic tracks. Experiment and adjust to taste!
Can Bitcrusher Be Automated During Playback in Garageband?
Yes, you can automate the bitcrusher during playback in GarageBand. Use the automation feature to adjust parameters in real-time, creating dynamic, evolving soundscapes that push your music into innovative, experimental territories.
How Does Bitcrusher Interact With Other Effects Like Reverb?
When you combine Bitcrusher with reverb, you create a unique blend of gritty, vintage sounds and spacious, ambient effects. Experiment with different levels to discover innovative textures and add depth to your audio creations.
Conclusion
By following these steps, you’ll easily bitcrush audio in GarageBand.
Access the Bitcrusher plugin, adjust the bit depth and sample rate, and apply effects to achieve that retro, gritty sound.
Remember to monitor your changes to maintain audio quality.
With a bit of experimentation, you can create unique, vintage sounds that enhance your music.
Don’t be afraid to tweak and adjust until you get the perfect effect.
Happy bitcrushing!