When you’re ready to export your GarageBand project to an MP3 file, you’ll want to start by ensuring your tracks are well-balanced and properly labeled. Head to the ‘Share‘ option in the top menu, where you’ll find the ‘Export Song to Disk‘ choice.
Here, you can select MP3 format and tweak the bit rate for the best audio quality. Don’t forget to enable ‘Normalize volume‘ to maintain consistent loudness levels.
But what should you do if your exported file doesn’t sound right or if you encounter other issues? Let’s explore some essential troubleshooting tips and additional export tricks.
Preparing Your GarageBand Project
Before exporting your song to MP3, make sure your GarageBand project is fully prepared and organized. This step is important for ensuring a smooth export process and high-quality audio.
Start by double-checking your tracks. Are all the instruments and vocals balanced? Make sure your mix sounds just right. You don’t want any sudden volume spikes or dips.
Next, trim any unnecessary silences at the beginning or end of your tracks. This keeps your song tight and professional. Don’t forget to label your tracks clearly. This makes it easier to navigate your project and ensures you don’t miss any important elements. A well-organized project also speeds up the export process.
Now, set your cycle region to highlight the part of the track you want to export. This is especially helpful if you’re only exporting a specific section of your song.
Once everything is in place, save your project under the .band extension. This ensures you can easily revisit and edit your project if needed.
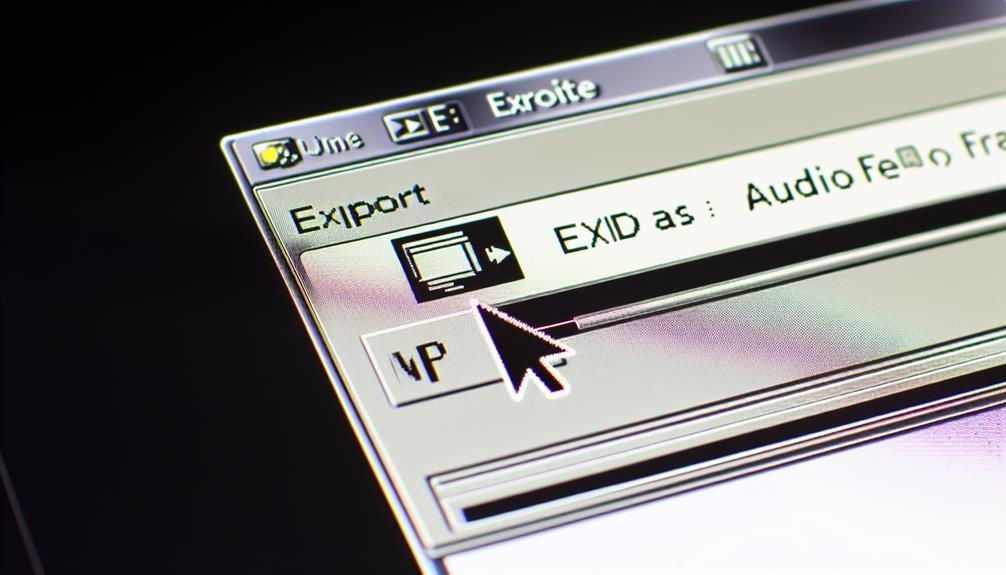
Accessing the Export Feature
Now that your GarageBand project is organized and ready, let’s access the export feature to convert your song to MP3. First, make sure your project is saved. To understand how to save from GarageBand to MP3, start by locating the top menu and clicking on ‘Share.’ From the dropdown, select ‘Export Song to Disk…’
A new window will appear, giving you several options. This is where you’ll learn how to convert GarageBand to MP3. Confirm you’re in the correct place by checking the format options. You might be asking, ‘How do I save GarageBand as MP3?’—simply choose the MP3 option from the list.
Before you proceed, double-check your project’s name and location to make sure it saves where you want it. Once these details are set, click ‘Export.’ GarageBand will begin the process of converting and saving your project as an MP3 file.
This method is straightforward and doesn’t require any additional software. Now you’ve learned how to save from GarageBand to MP3 efficiently. With your MP3 file ready, you’re all set for the next steps in sharing or distributing your music.
Selecting the MP3 Format
When you’re ready to export your song, you’ll need to select the MP3 format. Start by choosing the export settings that suit your needs, like adjusting the bit rate for better quality or a smaller file size.
Choosing Export Settings
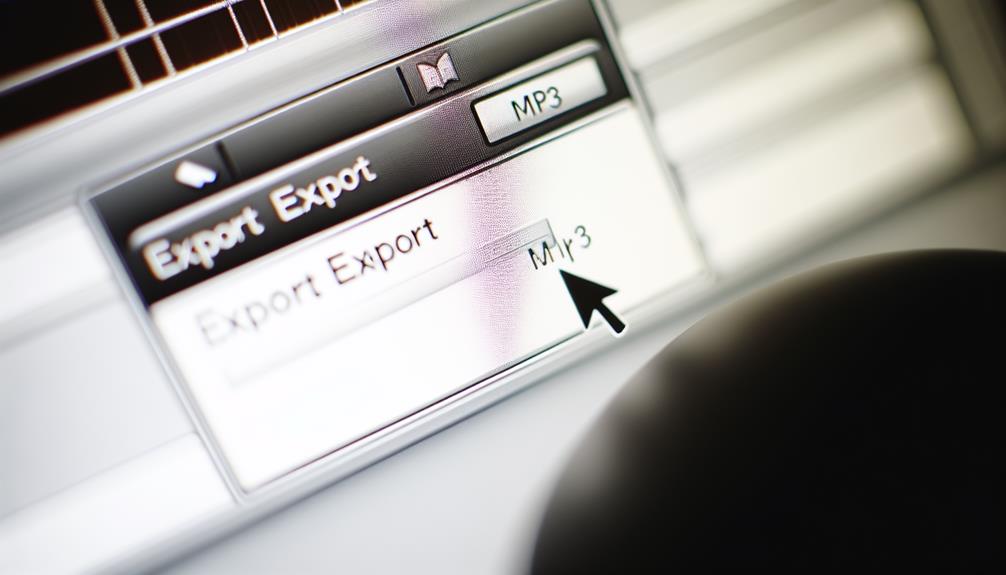
Choosing the MP3 format for exporting your GarageBand project guarantees a balance between file size and audio quality, making it ideal for sharing and distribution. When you’re ready to export, follow these steps to make sure you get the best results. Understanding how to turn GarageBand into MP3, how to save MP3 GarageBand, and how to export from GarageBand is important.
First, navigate to the “Share” menu and select “Export Song to Disk.” Here, you’ll find several options, but you’ll want to choose MP3. This format is widely compatible and perfect for most listening environments. Next, you’ll need to decide on your export settings. Make sure you’ve named your song appropriately and chosen a location to save your file.
| Step | Action | Description |
|---|---|---|
| 1 | Navigate to “Share” | Access the export options |
| 2 | Select “Export Song to Disk” | Opens the export dialog |
| 3 | Choose MP3 | Selects the MP3 format for exporting |
| 4 | Name your song | Ensures your file is easily identifiable |
| 5 | Choose a save location | Specifies where the file will be stored |
Adjusting Bit Rate
After selecting MP3 as your export format, you’ll need to adjust the bit rate to balance audio quality and file size. Bit rate determines how much data is processed per second in your audio file, impacting both the sound quality and the file size. Higher bit rates offer better sound quality but result in larger files, while lower bit rates save space but may compromise audio fidelity.
In GarageBand, you can usually choose between 128 kbps, 192 kbps, and 320 kbps. For most purposes, 192 kbps is a solid middle ground, providing good quality without creating overly large files.
If you’re exporting a demo or sharing a track with friends, 128 kbps might be sufficient. However, if you’re aiming for professional quality or plan to distribute your music widely, opt for 320 kbps to guarantee the best sound.
To adjust the bit rate, navigate to the export settings after selecting MP3. Look for the ‘Quality’ dropdown menu and choose your preferred bit rate. This simple adjustment can make a big difference in how your final track sounds and how easily you can share it.
File Size Considerations
Wondering how to balance sound quality and file size when exporting your GarageBand tracks to MP3? It’s an important decision, especially if you want your music to sound great without taking up too much space.
MP3 is a popular choice for its balance of quality and file size. When you select MP3, you’ll need to take into account the bit rate, which impacts both the sound quality and file size.
Higher bit rates like 320 kbps give you better sound quality but result in larger files. This is ideal if you’re sharing your tracks with potential collaborators or uploading to streaming platforms.
Lower bit rates, such as 128 kbps, produce smaller files but may compromise sound quality. This might be suitable for quick demos or when storage space is limited.
To export your file, go to Share > Export Song to Disk, select MP3, and choose your desired bit rate. Remember, finding the right balance between quality and size can make your music more accessible without sacrificing too much on the listening experience.
Experiment with different settings to find what works best for your needs.
Configuring Export Settings
To configure export settings in GarageBand, navigate to the ‘Share’ menu and select ‘Export Song to Disk.’ This action opens a dialog box where you can fine-tune how your song will be exported.
Start by choosing the format, and since we’re focusing on MP3, select ‘MP3’ from the options. You can then set the audio quality. For a balance between file size and quality, ‘High Quality‘ is a good choice, but you can choose ‘Highest Quality’ if you want the best sound possible, keeping in mind it will create a larger file.
Next, you’ll notice a field for ‘Bit Rate.’ Bit rate affects the audio quality and file size. A higher bit rate means better sound but a bigger file. For most uses, 192 kbps is a solid choice. If you’re aiming for professional-grade audio, 320 kbps is the way to go.
Don’t forget to select the option for ‘Normalize volume.’ This feature ensures your song’s loudness is consistent, preventing any unexpected volume spikes.
After configuring these settings, you’ll be ready to move on to the final steps of exporting and saving your file.
Exporting and Saving the File
To export and save your GarageBand project, start by making sure your track is ready for export.
Then, select ‘Share’ from the menu and click ‘Export Song to Disk‘ to choose the MP3 format for smaller file size.
Remember to check the normalization settings in preferences to control the volume levels of your final MP3 file.
Saving Project Files
When you’re ready to save your project in GarageBand, exporting the file in the desired format is a straightforward process. First, make sure your project is saved with the .band extension. This way, you can easily access and modify it later.
Simply click “File” in the top menu, then select “Save As” and choose your preferred location on your computer. Give your project a meaningful name so you can find it with ease.
Next, if you want to export your project for sharing or further use, click ‘Share‘ in the top menu and select ‘Export Song to Disk.’ Here, you can choose from several formats like AAC, AIFF, or WAV, depending on your needs. For instance, if you’re aiming for high-quality audio, AIFF is a solid choice. If file size is a concern, AAC might be more suitable.
Before exporting, double-check your project settings to ensure everything sounds perfect. Once you’ve selected the format, hit the “Export” button.
Your file will be saved in the chosen format, ready for sharing or further editing. This easy process ensures your creativity is preserved and accessible whenever you need it.
Exporting to MP3
After safeguarding your GarageBand project, you can effortlessly export it to MP3 for convenient sharing and playback. First, make sure your project is ready. Then, go to the top menu and select ‘Share,’ followed by ‘Export Song to Disk.’ A dialog box will appear where you can choose the MP3 format.
Here’s a quick reference table to guide you through the steps:
| Step | Action | Description |
|---|---|---|
| 1 | Select ‘Share’ | Access the export options |
| 2 | Choose ‘Export Song…’ | Opens the export dialog |
| 3 | Select ‘MP3’ | Sets the file format |
| 4 | Name your file | Edit the song name and location |
| 5 | Click ‘Export’ | Finalizes the export process |
After selecting MP3, consider the bit rate settings. Higher bit rates offer better audio quality but result in larger files. Once you’ve named your file and chosen the location to save it, click ‘Export.’ Your GarageBand project will then convert to an MP3 file, ready to be shared or played on various devices.
This process guarantees you can easily distribute your music, whether for professional use or sharing with friends. Embrace this straightforward method to make your creative output more accessible and widely heard.
Normalization Settings
Normalization settings can greatly impact the final volume and quality of your exported MP3 file. When you export your project from GarageBand, the software automatically normalizes the audio.
This means it adjusts the volume so your track is as loud as possible without distorting. For most users, this is a convenient feature that guarantees your music sounds polished and professional.
However, if you’re aiming for a more customized sound, you might want to turn off auto-normalization. To do this, go to GarageBand’s preferences. Under the “Advanced” tab, you’ll see an option to uncheck “Auto Normalize.” Turning this off gives you full control over the mastering process, allowing you to manually adjust levels for a unique sound.
Once you’ve set your normalization preferences, proceed with exporting your file. Click “Share” in the top menu, then select “Export Song to Disk.” Choose MP3 as your format, and adjust the quality settings as needed. Finally, click “Export” to save your file.
Troubleshooting Common Issues
Encountering issues with GarageBand? Don’t worry, we’ve got solutions to some of the most common problems you might face.
First, if your export button is greyed out, make sure your project is saved and all tracks are enabled. Sometimes, GarageBand won’t allow export if there are muted tracks or unsaved changes.
Next, if your exported MP3 sounds distorted or low-quality, check your export settings. Opt for a higher bit rate (like 192 kbps or above) for better sound quality. Also, confirm the master volume isn’t peaking into the red, as this can cause distortion.
If GarageBand is cutting off the beginning or end of your track, remember to add silence at both ends. You can do this by inserting a short blank audio region at the start and end of your project.
Lastly, if your file isn’t exporting at all, try restarting GarageBand or your computer. Sometimes, a simple reboot can fix unexpected glitches. If issues persist, consider reinstalling GarageBand or updating to the latest version to make sure all bugs are resolved.
With these tips, you can troubleshoot and export your projects smoothly!
Additional Export Tips
For those looking to optimize their GarageBand export process, consider experimenting with different file formats and sharing options to suit your specific needs. You can explore various formats like WAV for higher quality or MP3 for smaller file sizes. Exporting directly to Apple Music or SoundCloud also opens up new avenues for sharing your creations.
To evoke some excitement, here’s a quick comparison to help you decide:
| Feature | MP3 | WAV |
|---|---|---|
| File Size | Smaller | Larger |
| Quality | Good for demos | Best for streaming |
| Compatibility | Universal | Preferred by streaming sites |
Additionally, use Airdrop, email, or direct project transfer to iOS devices for quick sharing. If you’re planning to distribute your music on streaming services, consider using a music distributor for a more professional approach.
Don’t forget about the normalization feature in GarageBand, which can automatically adjust the volume levels. If you want more control, turn off auto-normalization in preferences and master your tracks manually. This can make sure your music sounds exactly the way you intend.
Must-know tutorials:
How to Make a Song on Garageband: Easy Steps for Beginners!
How to Open Keyboard in GarageBand Instantly?
How to Install GarageBand Plugins: Quick and Easy Tips
How to Bitcrush Audio in GarageBand: Transform Your Tracks!
Frequently Asked Questions
Can I Export My Garageband Project Directly to Spotify?
No, you can’t export directly to Spotify from GarageBand. First, export your project as an MP3 or WAV file, then use a music distributor to upload it to Spotify. Embrace innovation and share your creativity!
How Do I Batch Export Multiple Tracks From Garageband?
You can batch export multiple tracks from GarageBand by selecting all desired tracks, then using the ‘Share’ feature. Choose ‘Export Song to Disk,’ set the format, and export them all at once for efficiency.
What Are the Best Bit Rate Settings for MP3 Export?
You should select a bit rate of 192 kbps for a balance between quality and file size. For higher fidelity, opt for 320 kbps. Lower bit rates like 128 kbps are best for conserving space.
Does Auto-Normalization Affect the Final MP3 Quality?
Auto-normalization can impact your final MP3 quality by adjusting the volume automatically. If you want full control over your sound, disable it in preferences and manually master your tracks for the best sound quality.
Can I Export Garageband Files to Cloud Storage Services Like Google Drive or Dropbox?
You can export GarageBand files to cloud storage services like Google Drive or Dropbox. Simply save your project, export it as an MP3, and then upload the file to your preferred cloud service for easy access.
Conclusion
You’ve got this! Exporting your GarageBand project to MP3 is straightforward once you know the steps.
Just balance and label your tracks, use the ‘Share’ option to select ‘Export Song to Disk,’ and choose MP3 format.
Adjust the bit rate and enable ‘Normalize volume‘ for the best sound quality.
Finally, save your file with a clear name and location.
Double-check everything, and you’re ready to share your music with the world!